
Plugin Installation and Code Debugging
Install Debug Plug-in
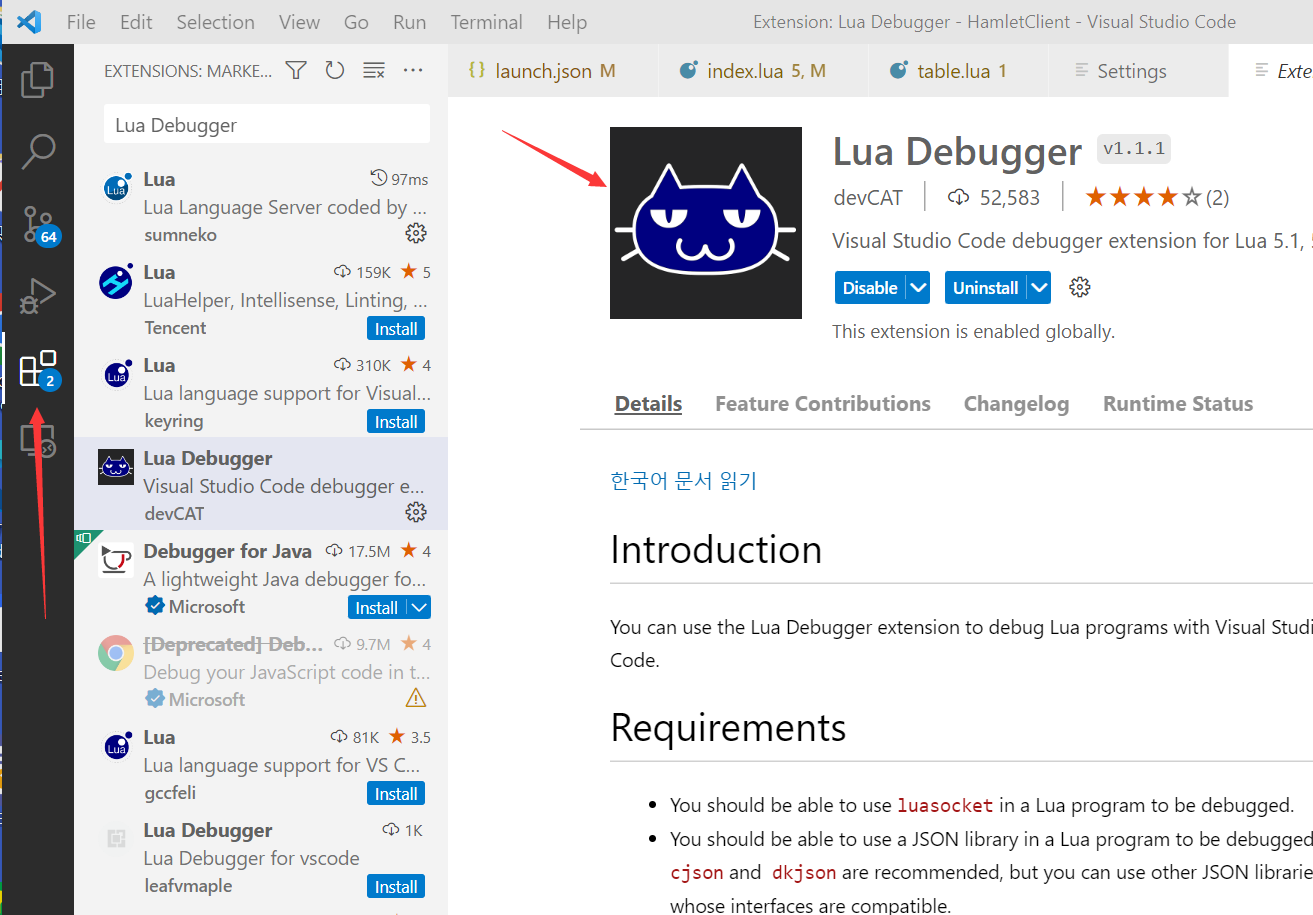
Search "Lua Debugger" in the VSCode's Extension Store and install the plug-in.
Set Your Project Directory
Open the folder with VSCode and open your project directory. Note that the project directory that you open must be the root directory of a Unity 3D project. For example, if your project directory is placed under D:/Project/HelloPara/, and a subdirectory called "Assets" exists under the HelloPara directory, you must open the HelloPara directory using VSCode.
Configure Debugging
Click "Open Debug Panel" in the VSCode, as shown in the figure below.
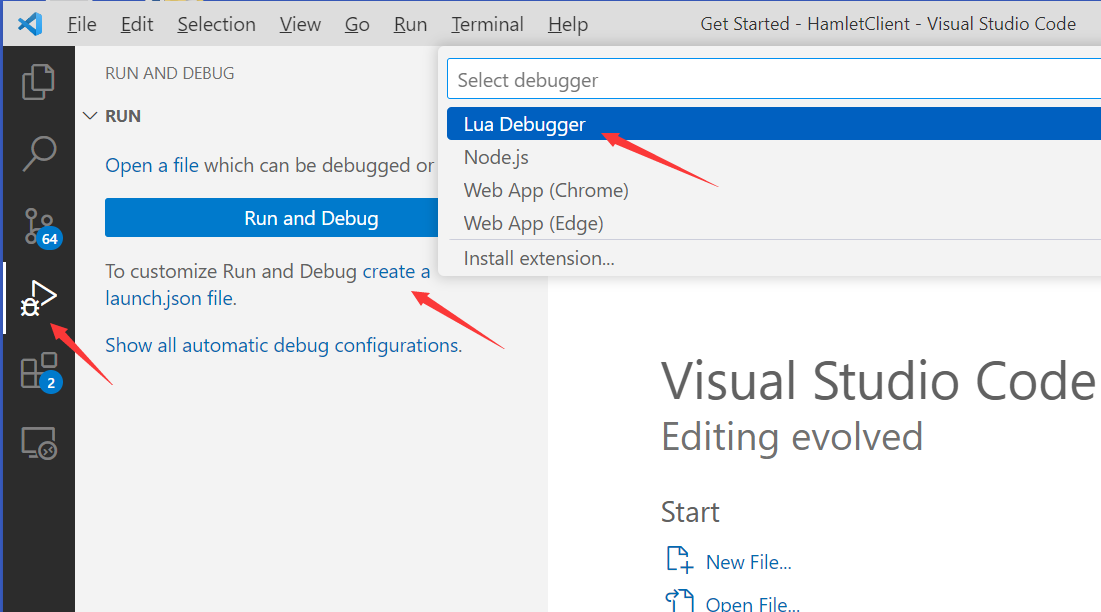
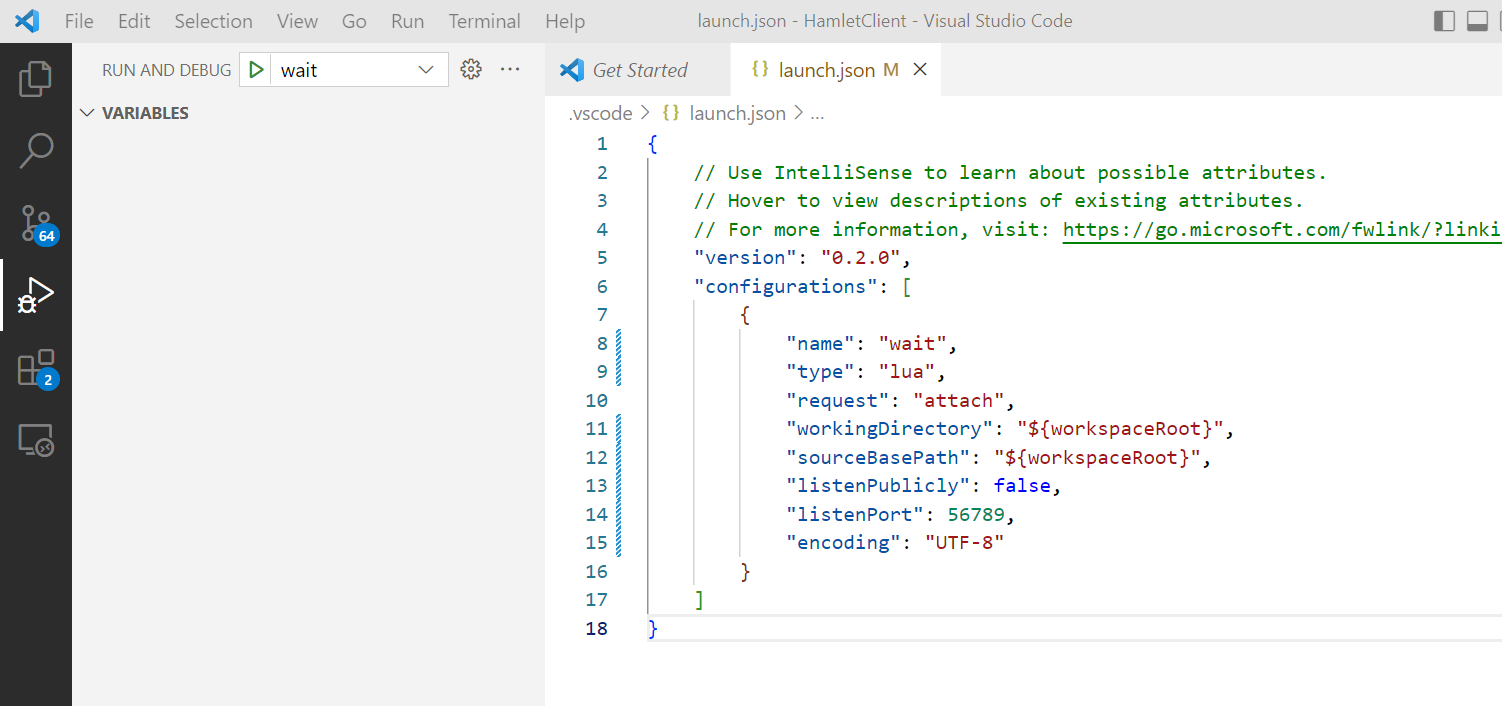
Click "create a launch.json", and select "Lua Debugger". A launch description file will then be created. Next, delete all startup items other than the one called "wait".
Start Debugging
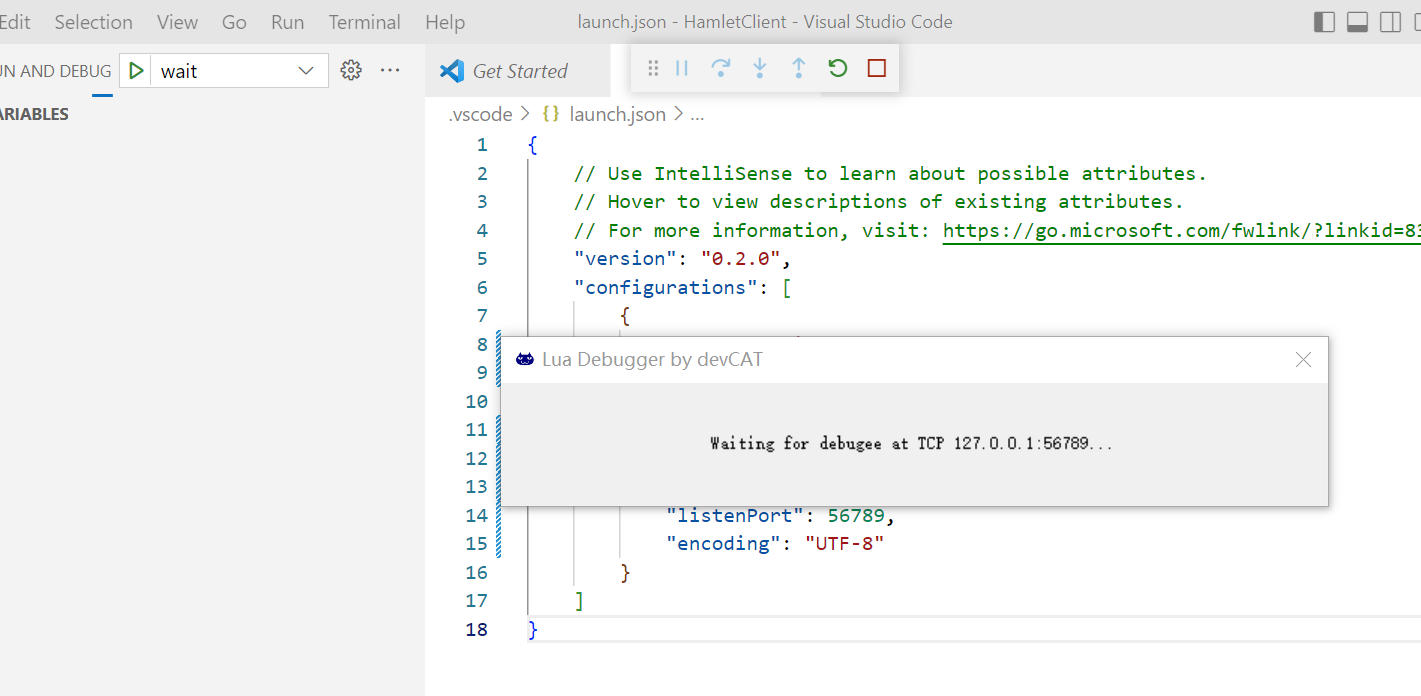
To enable debugging, press F5 in the VSCode. A prompt will then appear, as shown below, indicating that the simulator connection is in progress.
Set Breakpoints
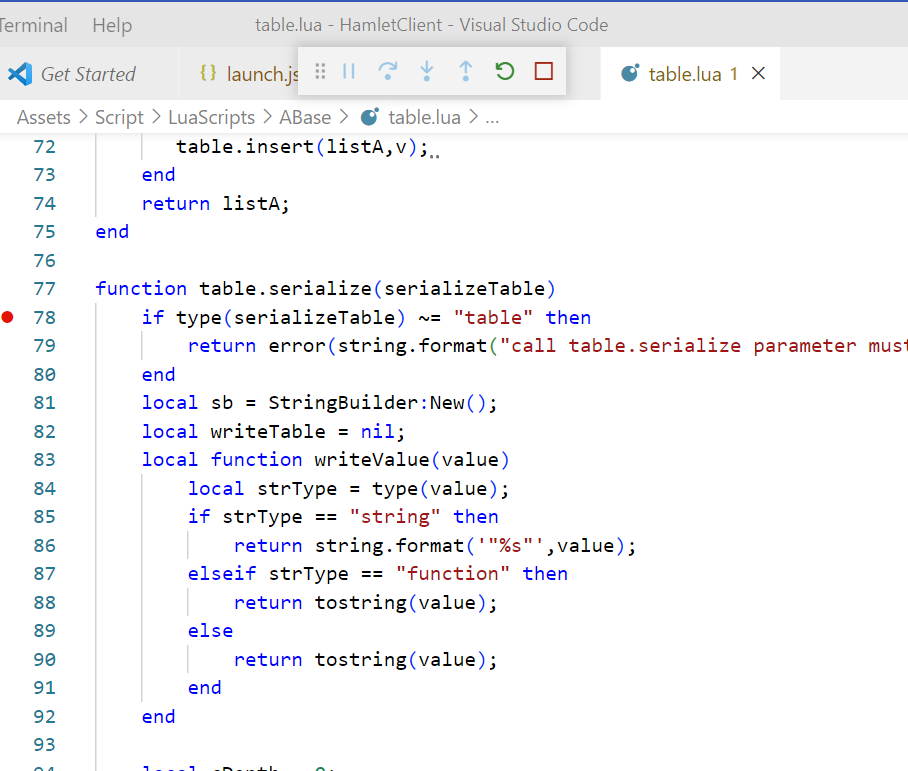
Open the Lua code to be executed in the project directory, and click a line number to set a breakpoint.
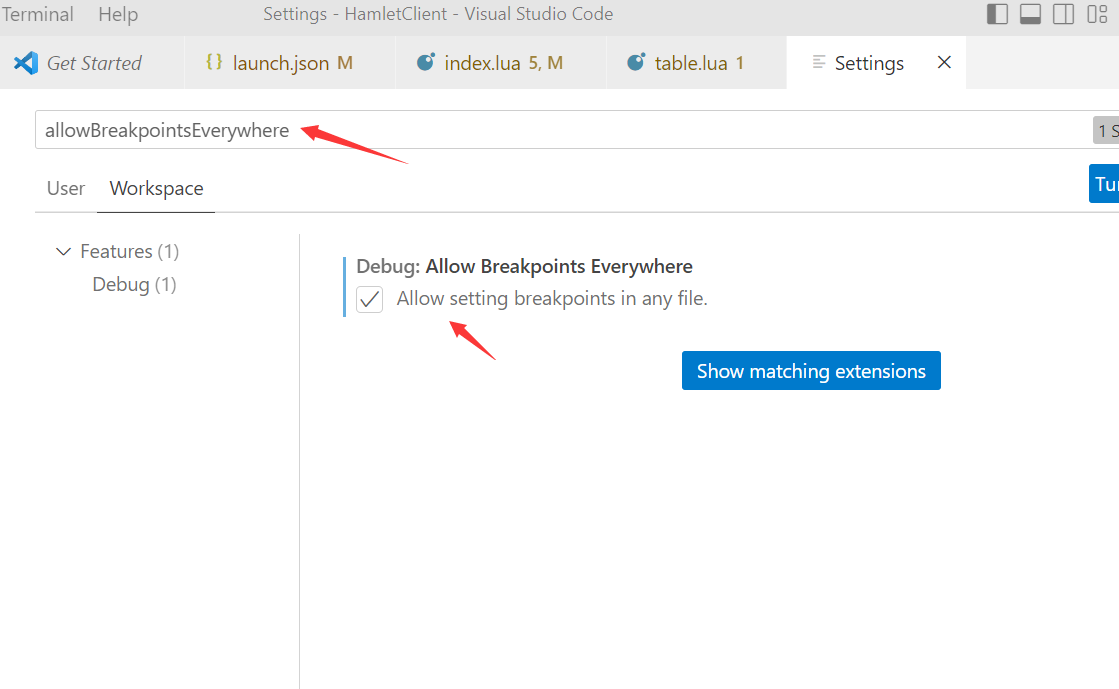
Note that if you are unable to set a breakpoint, simply search the field "allowBreakpointsEverywhere" in the VSCode settings, and change its value to “true”. To do this, open the command panel using the shortcut key combination of "Ctrl+Shift+P". Next, enter "Setting", and then select "Open Workspace Settings".
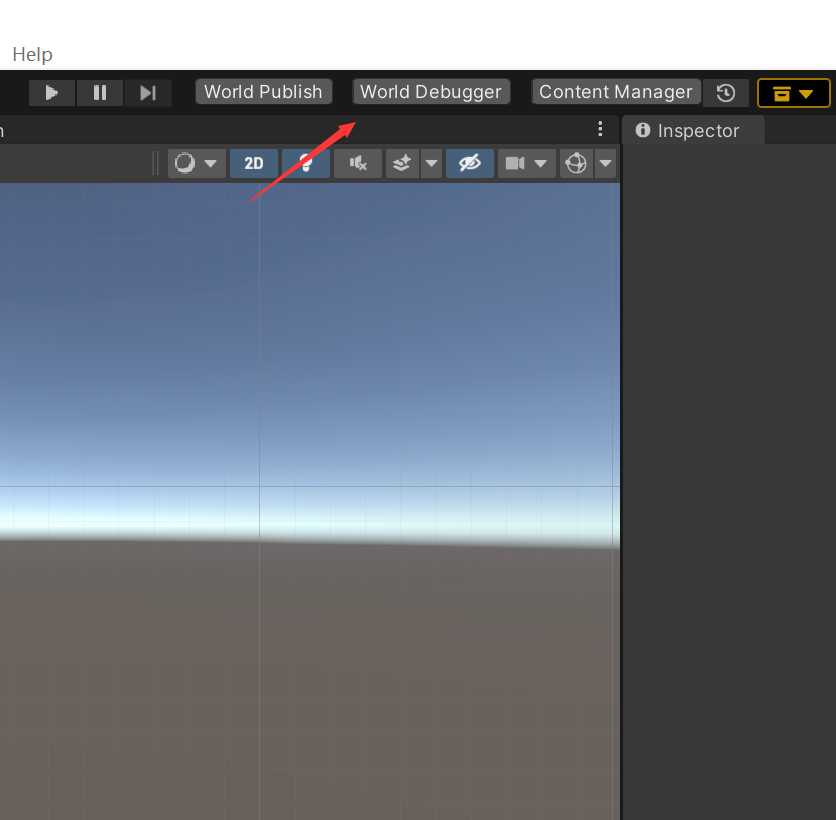
After a breakpoint has been set, start the simulator in the Unity Editor to check if the breakpoint is matched.
A matched breakpoint is shown in the figure below.

Updated about 1 year ago