
How to Reduce Bones of an Avatar?
In 3D modeling, bones are essentially a hierarchical system of interconnected joints that are used to animate a model. Bones are like the skeleton of a model, providing a framework for the model to move and bend in a natural way.
They are often represented as a series of lines that connect different points on the model, with each line representing a different bone. By assigning specific movements and rotations to each bone, an animator can create realistic movements and poses for the model.
Warning:In this document, we assume that you already have installed Blender and Cats Blender Plugin.
You also need to prepare your own avatar model (preferrably in .fbx file format).
This section provides instructions in ideal conditions. During actual operations, unexpected errors may occur due to platform restrictions or engine problems.
Tips:If you haven't download or don't know how to download Cats Blender Plugin, check this document out, in which we provide detailed steps about how to download Cats Blender Plugin.
Note that the uploading requirement for Skeleton is 200. This means that if your model has more than 200 bones, it may not be able to be uploaded to the platform or software that you are using. So make sure your model has less than 200 bones.
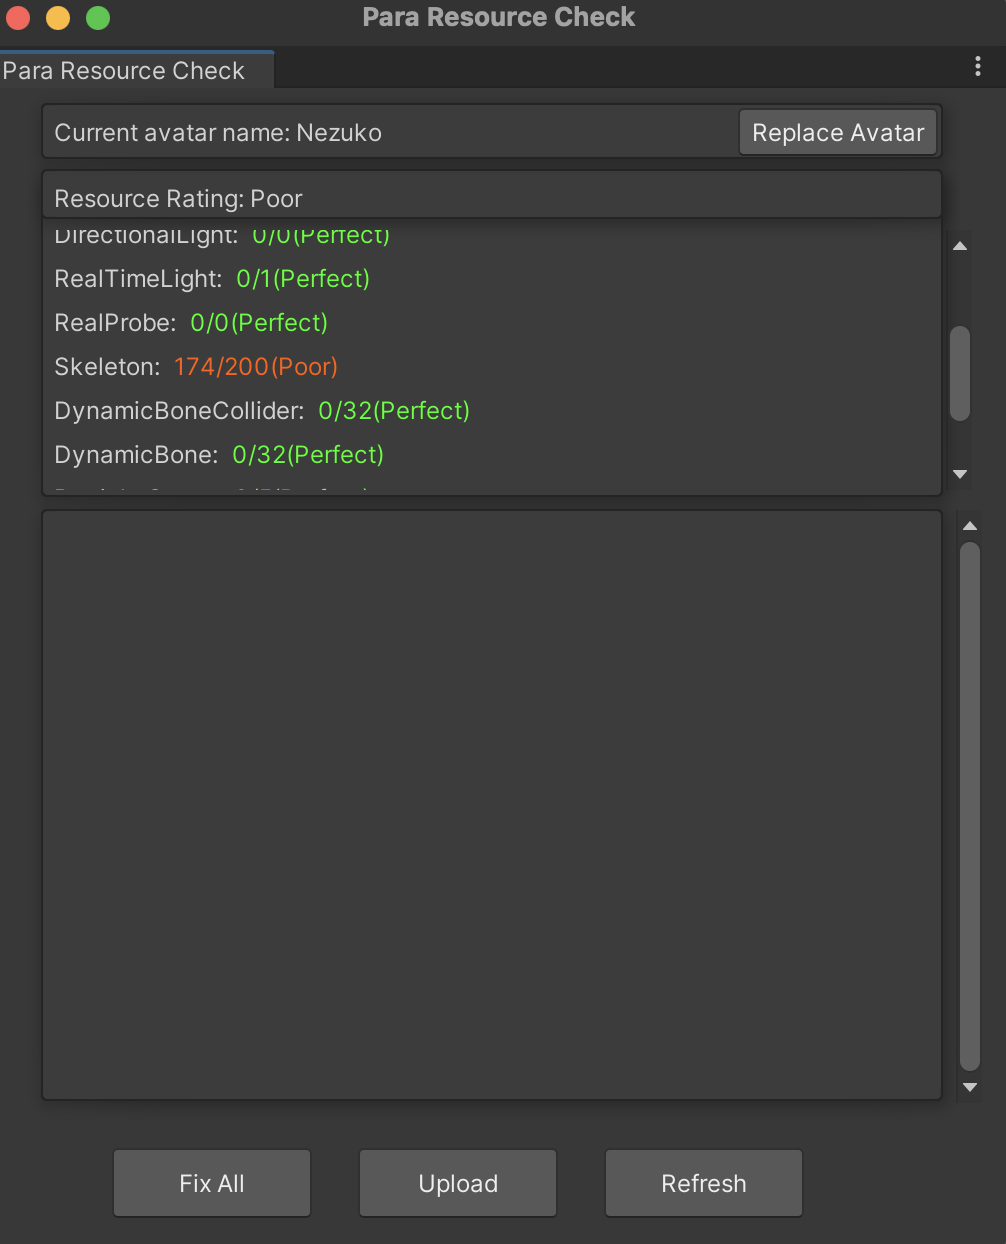
To ensure that your skeleton model meets the uploading requirements, it's important to carefully review the bone structure and hierarchy of your model. This may involve merging bones together, adjusting the hierarchy of the bones, or simplifying the overall structure of the model.
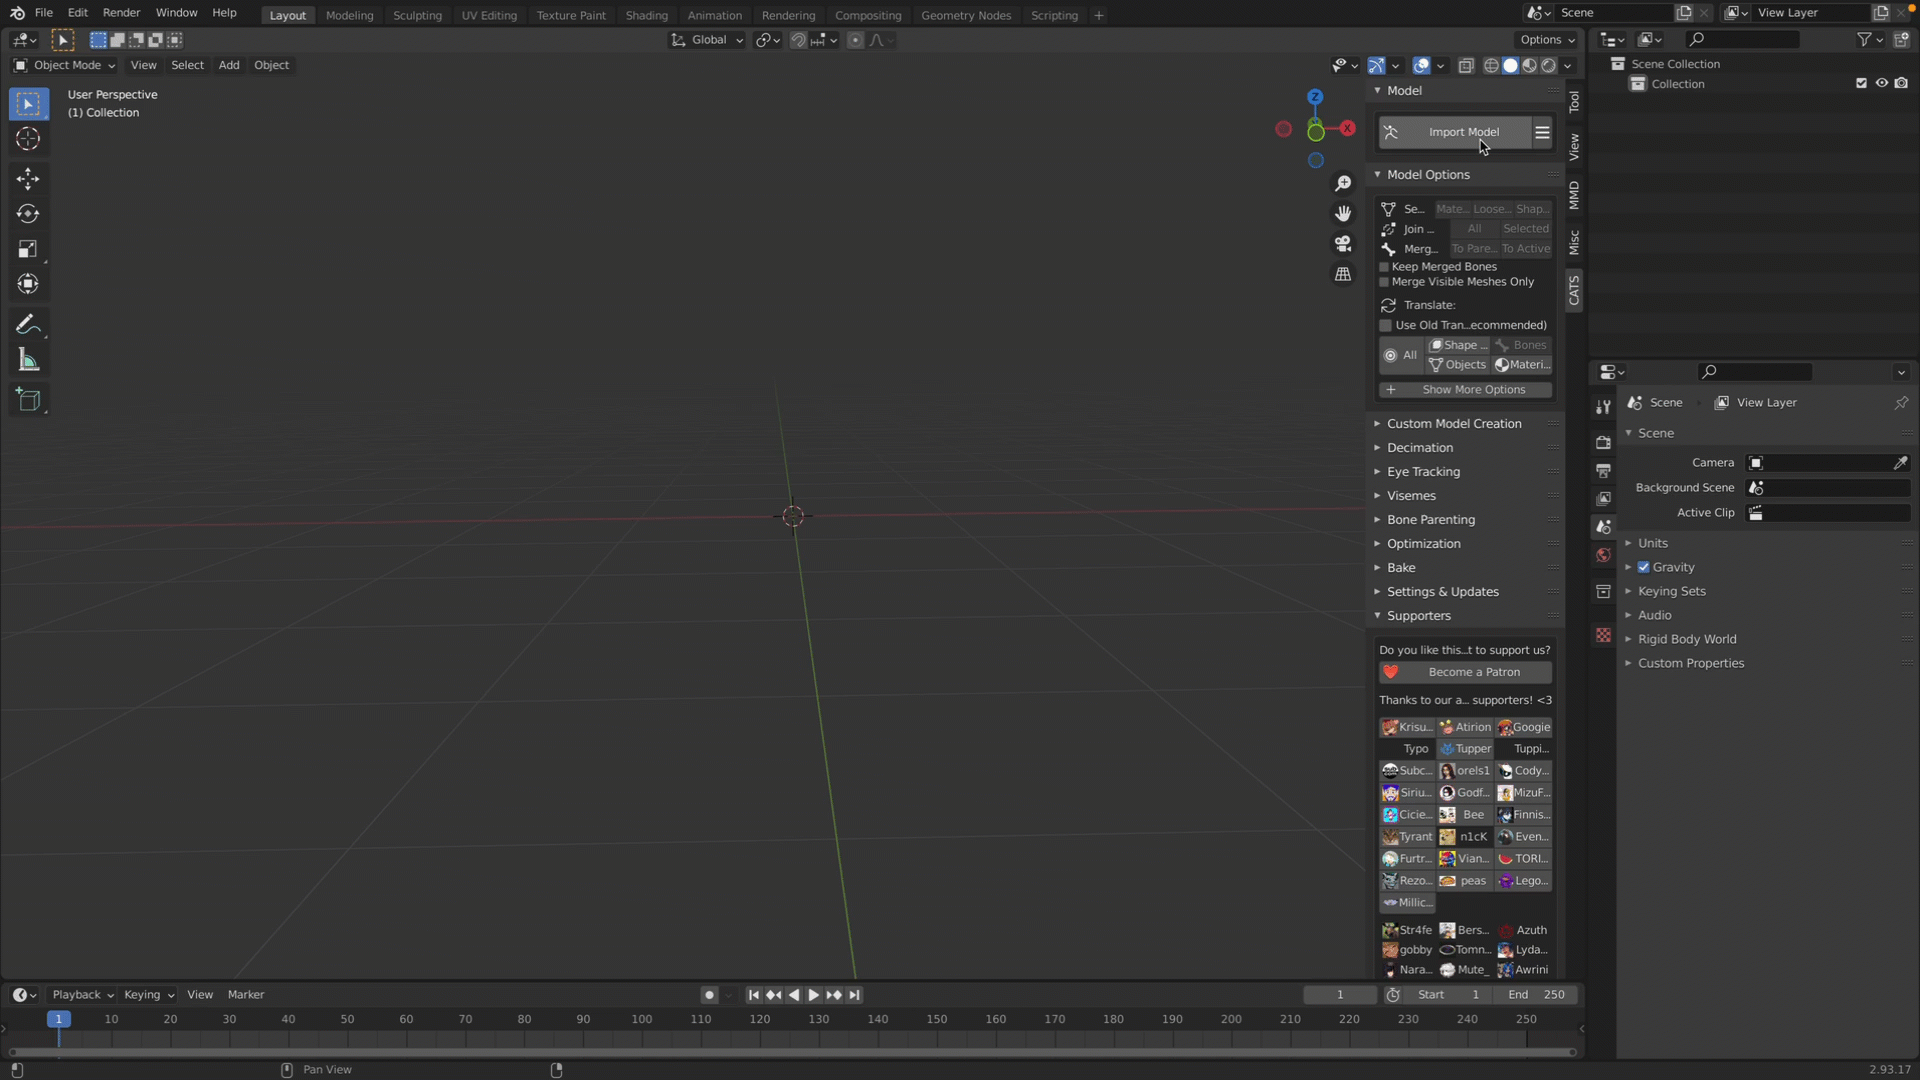
Create Blender Project and Import Avatar to Blender
- Open a Blender Project.
- Select the default model and delete it.
- Navigate to the "File" tab and click "Import".
- Choose the corresponding file format of your avatar model and import your avatar.
Merge Bones Using Cats Plugin
After importing your avatar into Blender, press the tab key on your keyboard to change to the editing mode. Then select the specific part of bones that you gonna make changes with.
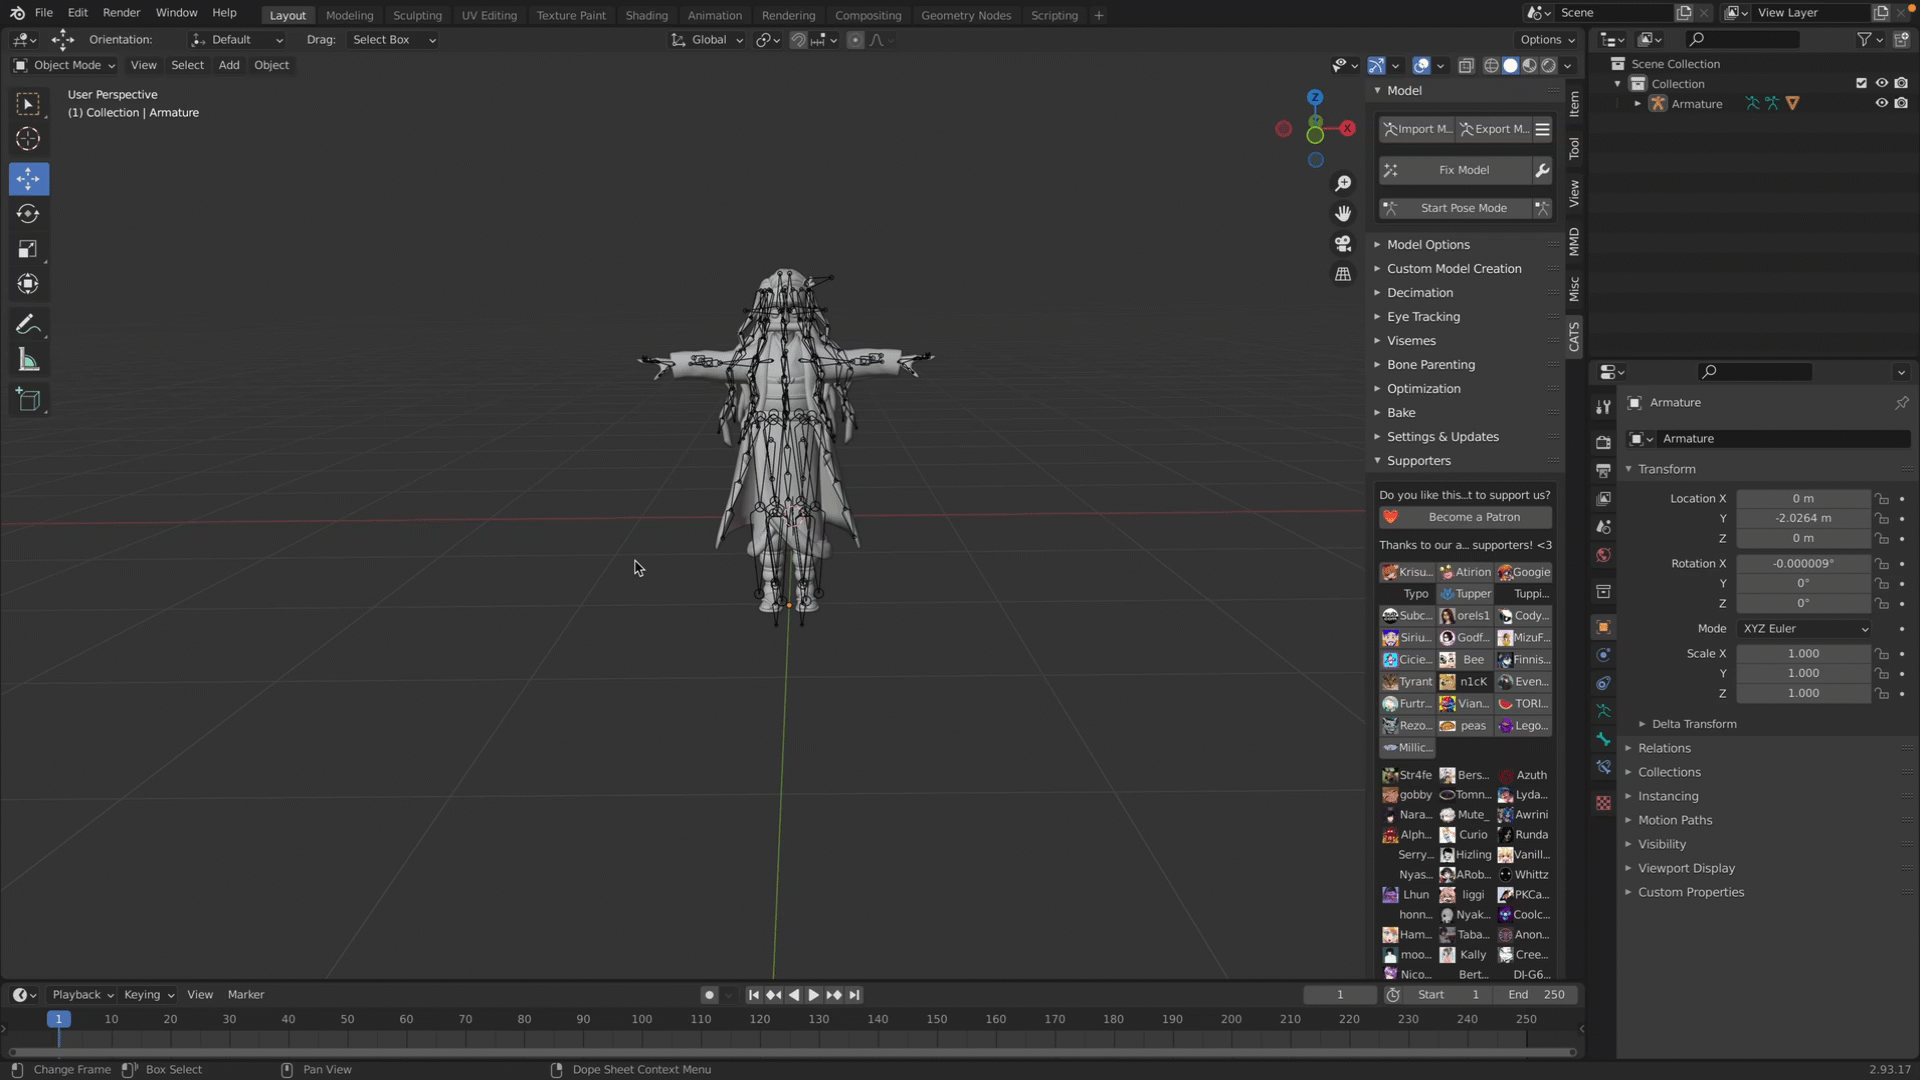
To access the Cats Plugin to merge bones, you can follow these steps:
- Locate the small window on the right side of the interface.
- In the small window, you should see a tab labeled "Cats Plugin". Click on this tab to launch the Cats Plugin.
- Then expand "Model Options."
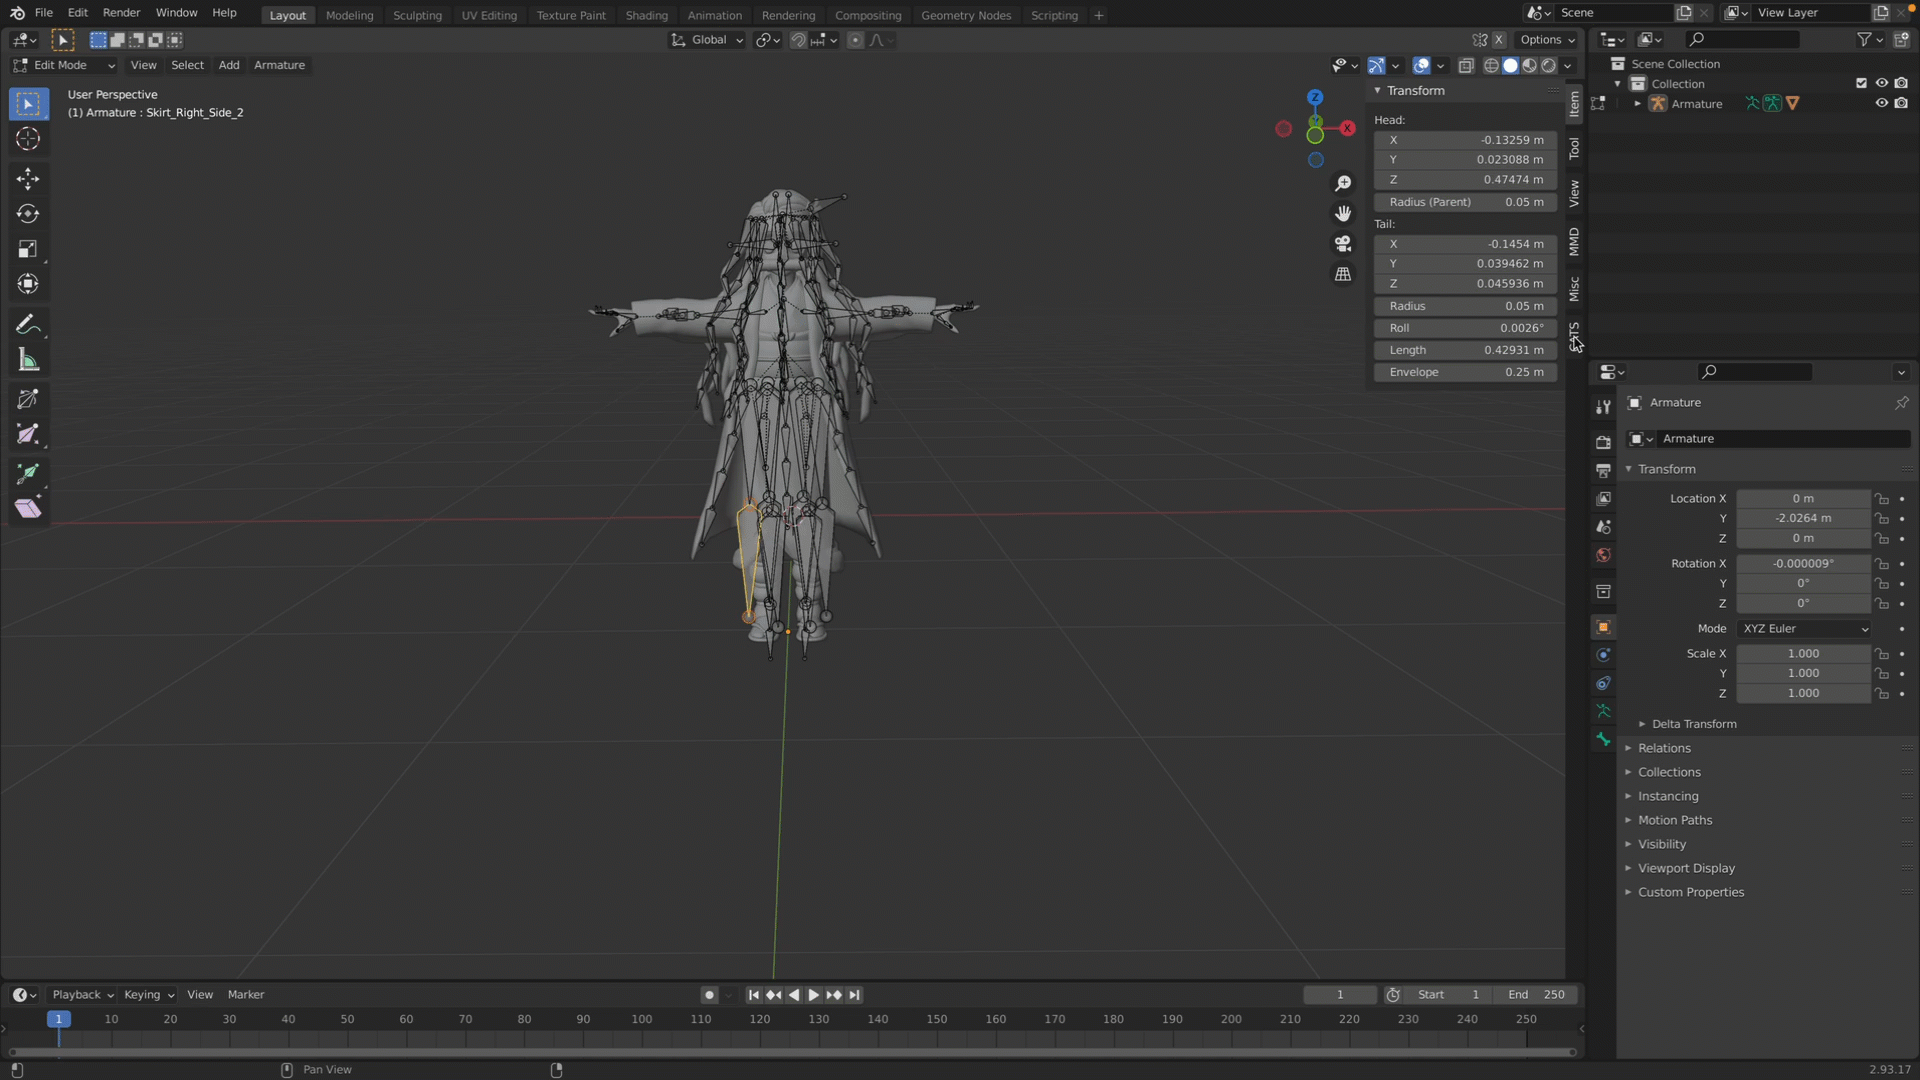
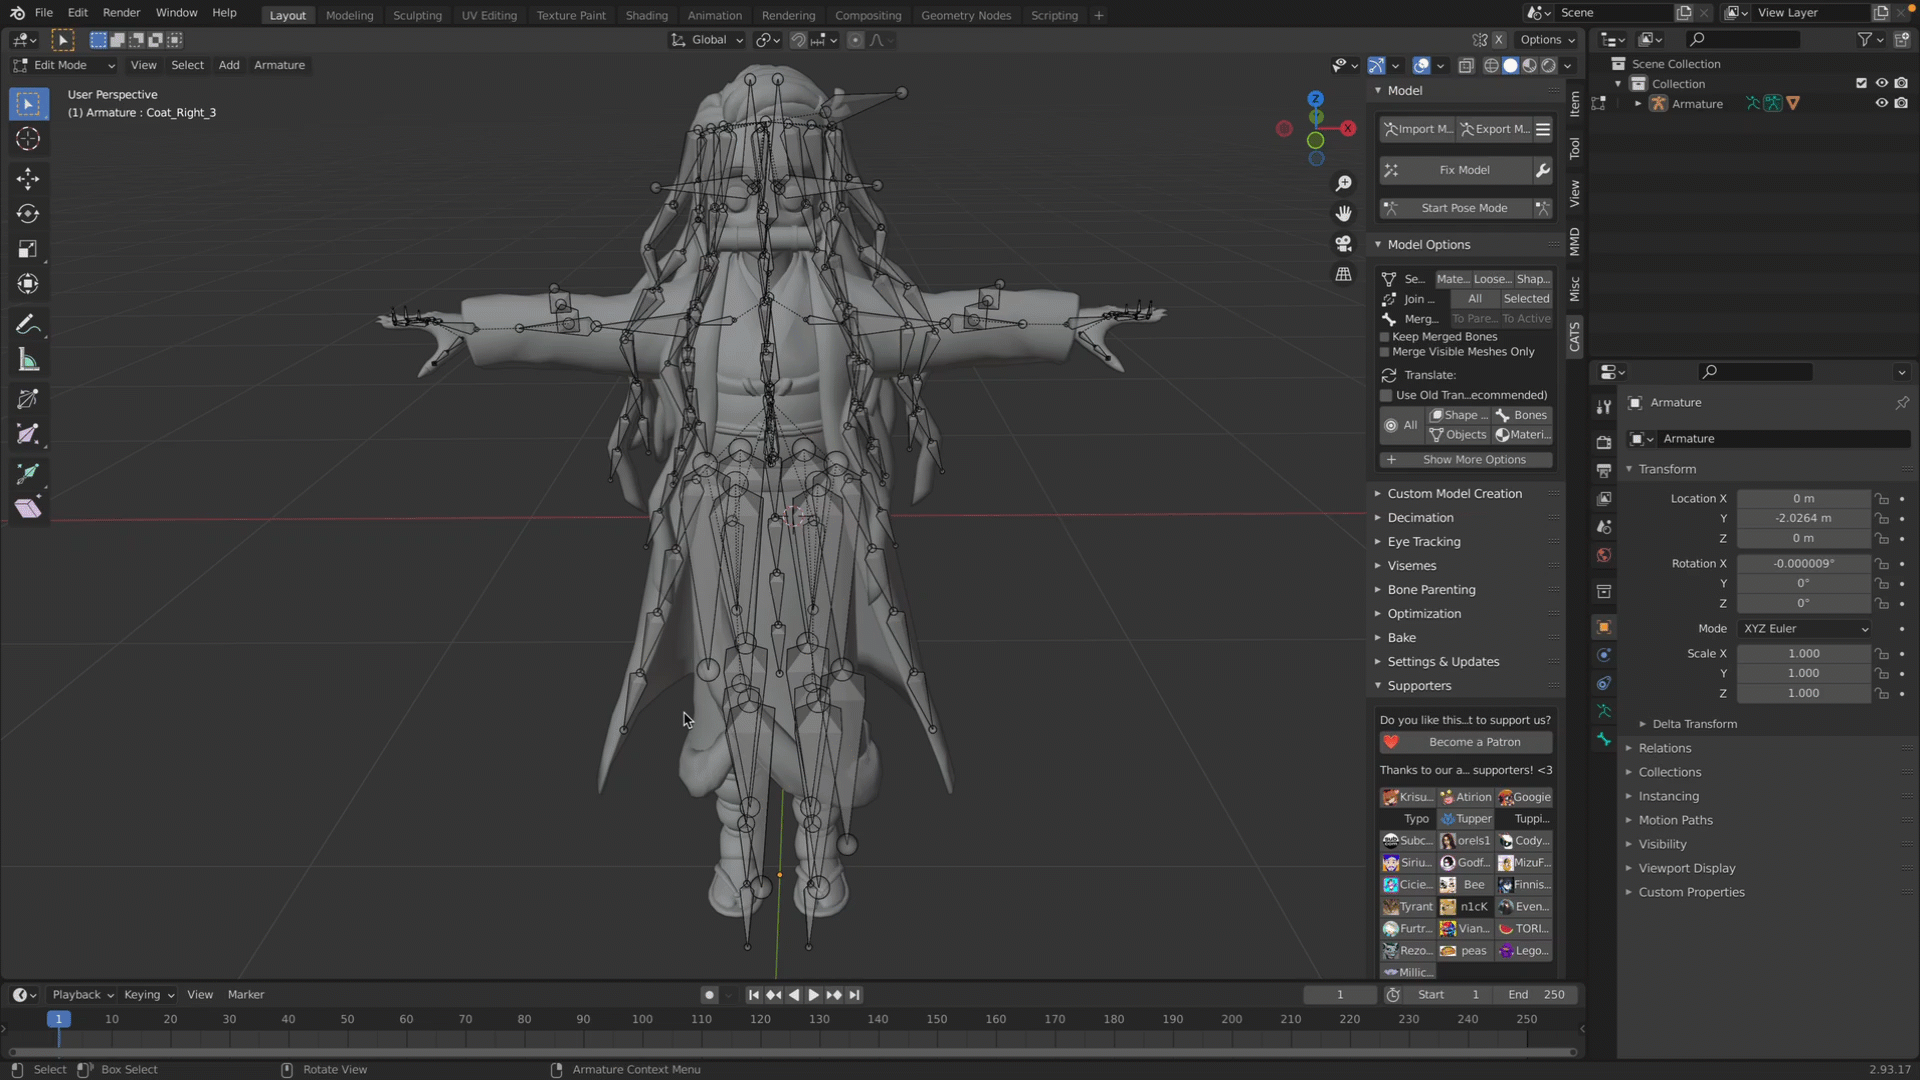
To merge a bone with its parent, you can use the "Merge Bones" function, which can be found under the "Model Options" tab. Once you have selected the bone you want to merge, simply click on "Merge Bones" and then choose the "To Parent" option. This will merge the selected bone with its parent bone, creating a single, unified bone structure.


Tips:It's worth noting that you may need to repeat this process multiple times in order to meet the specific uploading requirements for your model.
Delete Unnecessary Bones
There is another effective way that you can reduce the number of skeletons for your model to be uploadable -- delete unnecessary bones. Unnecessary bones can include those that are not needed for the overall structure of the model, or those that are not used in any animations or movements. By identifying and deleting these bones, you can significantly reduce the overall number of bones in your model, making them more streamlined and efficient.
- To delete unnecessary bones, simply select the bone that you want to delete.
- Then right click it and click on "Delete Selected Bone(s)".
Now, this bone has been removed from your skeleton structure.
Tips:It's worth noting that when deleting bones, it's important to be careful not to remove any that are essential to the overall structure or movement of the model. This can be particularly important for complex models with many interconnected bones and joints.
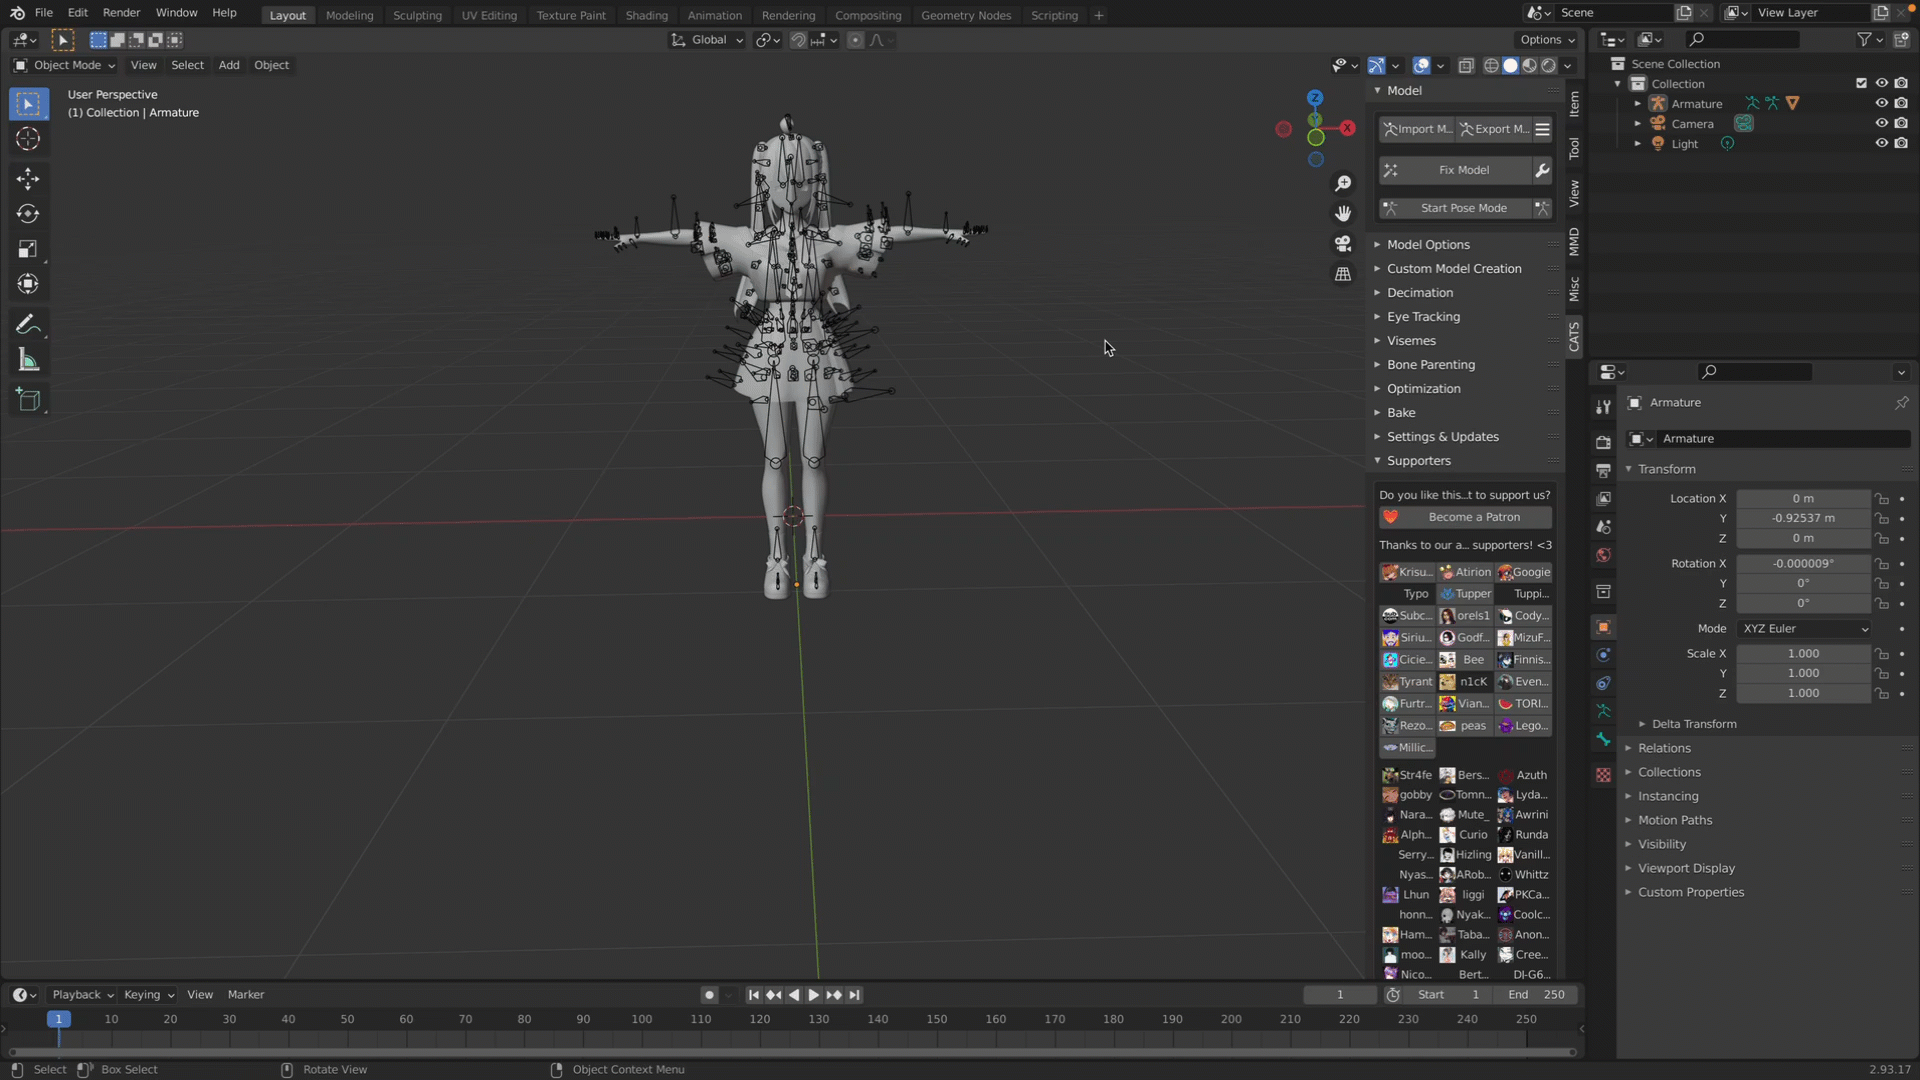
Export Your Avatar Model Using Cats Plugin
Once you have finished creating and editing your avatar model, the next step is to export it.
To export it, you can follow these steps:
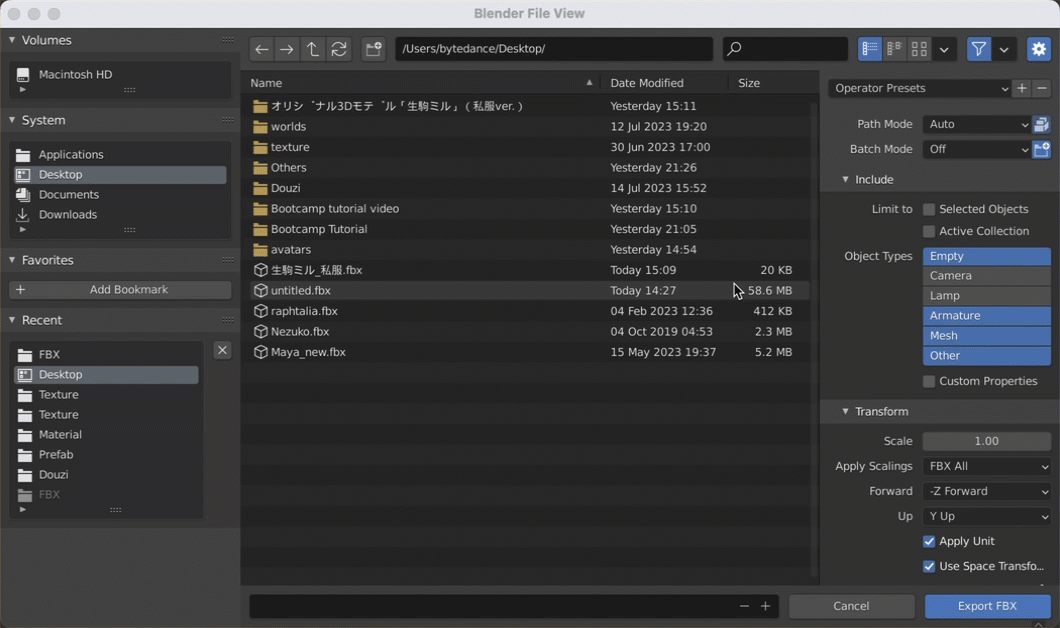
- Navigate to the "Export Model" file in the Cats Plugin window and click on it.
- Click on "Continue to Export".
- Choose a location on your computer where you want to save the exported file and give it a name.
- Click on the "Export FBX" button to begin the export process.
Tips:Note that if you want to export your model along with textured images, you may change the "Path Mode" to "Copy".
Updated about 1 year ago