
How to Configure Physics Bones for an Avatar?
In ParaSpace, you may see hair, ears, or cloak of an Avatar naturally sway when the Avatar moves. This requires you to configure the bones controlling the Avatar's hair, ears, or cloak as physics bones. This article will walk you through how to configure a physics bone, but will not go into detail about each parameter of components related to physics bone. For a complete introduction to physics bone, see this article.
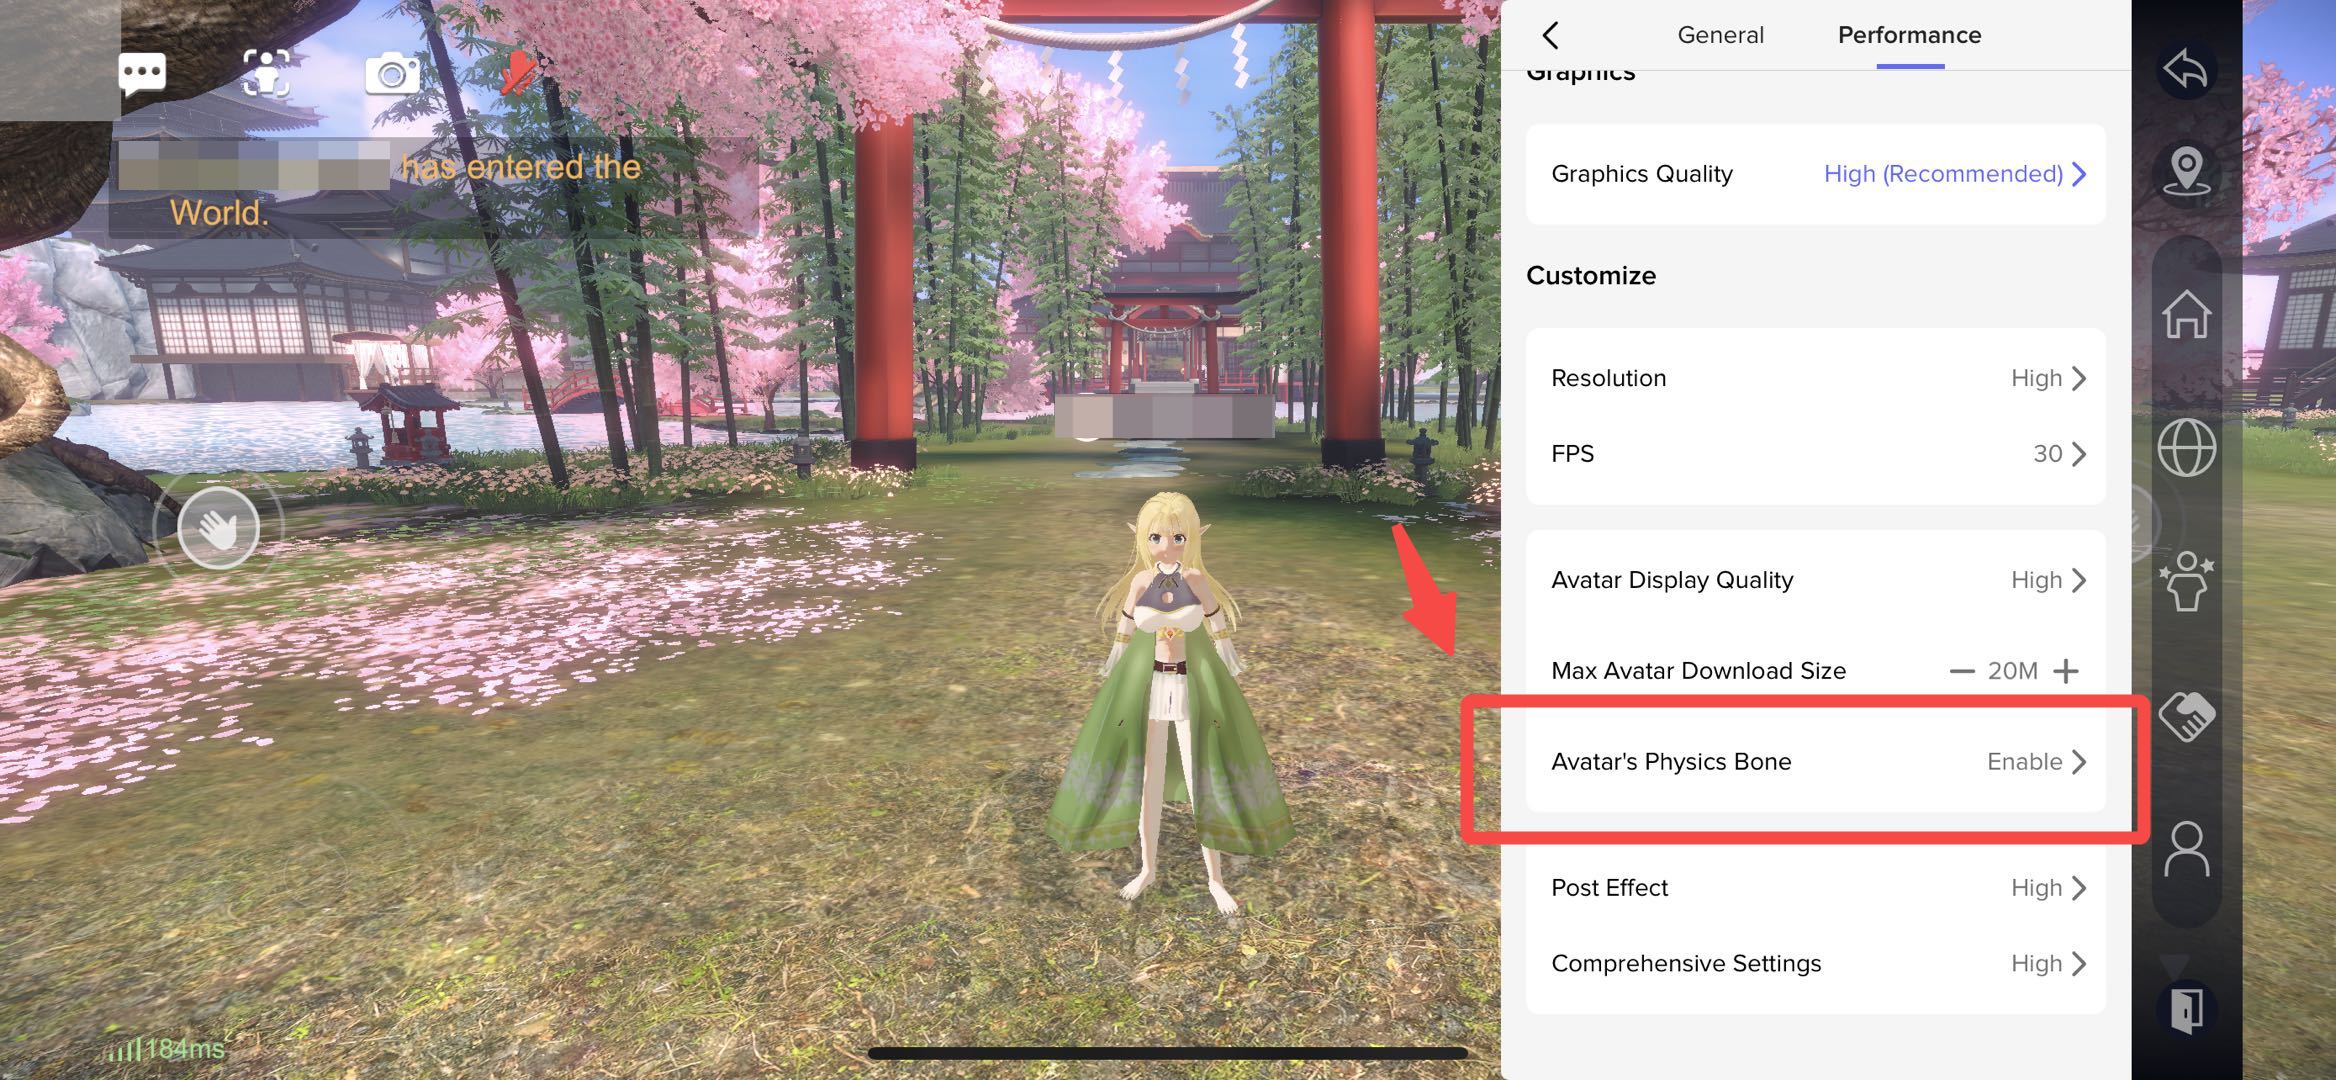
To see the physics bone effect in a World, ensure that the physics bone setting is enabled.If you have never seen the hair of an Avatar naturally swaying, it is possible that you have not enabled the physics bone setting. You can decide whether to enable this setting based on your actual situation, since it requires high performance of mobile devices.
Import an Avatar
- The Avatar used in this tutorial is provided by our Avatar SDK, which can be found in the following path: Assets/ParaAvatarSDK/Examples/SampleAvatar/Prefab/sampleAvatar01.prefab
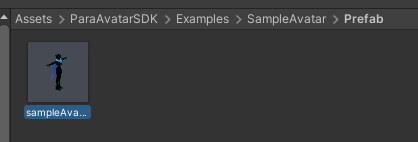
- After you find this Avatar model, drag it into the scene.
Add the Spring Animator Component
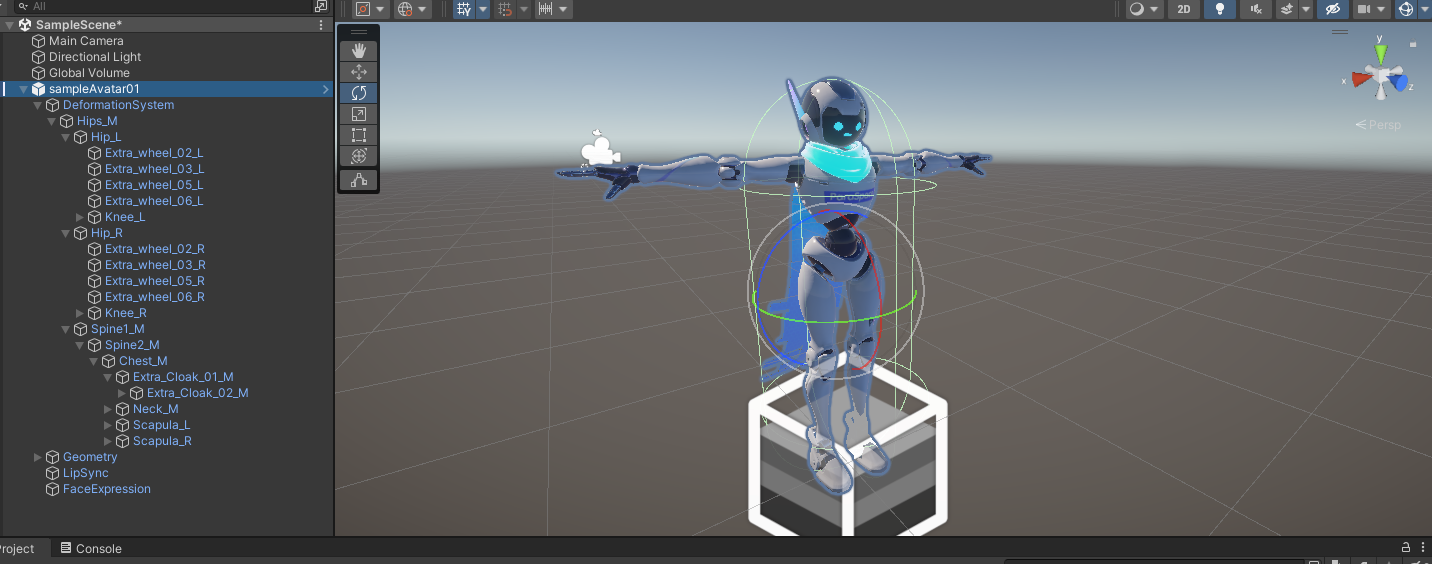
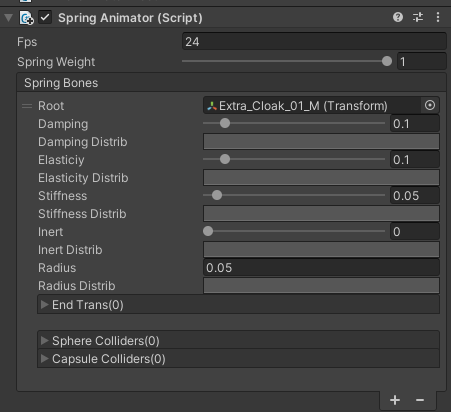
- Add the Spring Animator component to the root node of the Avatar. Create a Spring Bone, and drag "Extra_Cloak_01_M”, the parent bone node of the cloak, to the "Root" field.
- Set Damping, Elasticity, Stiffness, and Radius to 0.1, 0.1, 0.05, and 0.05, respectively.
- Now the cloak should sway naturally, as shown in the following figure:
Add a Capsule Collider
- When the Avatar is running, you may notice that the cloak clips through its body when swaying (if you don't mind this, then you have completed this tutorial). To solve this problem, configure a Capsule Collider on the Avatar's body so that moving bones can collide with it and thereby avoid clipping.
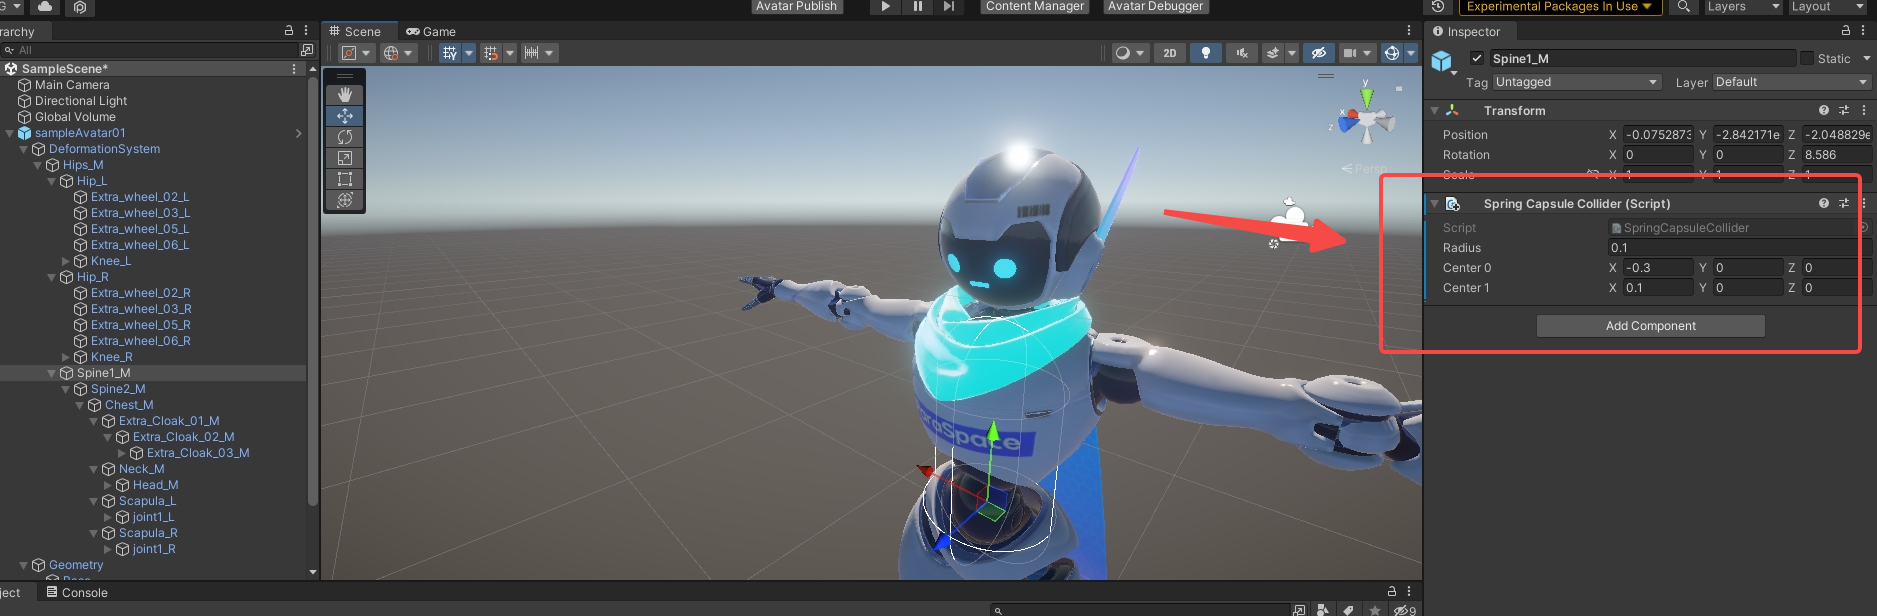
- Locate the "Chest_M" object and add a Capsule Collider to it.
- Set Radius, X value of Center 0, and X value of Center 1 to 0.1, -0.3, and 0.1, respectively.
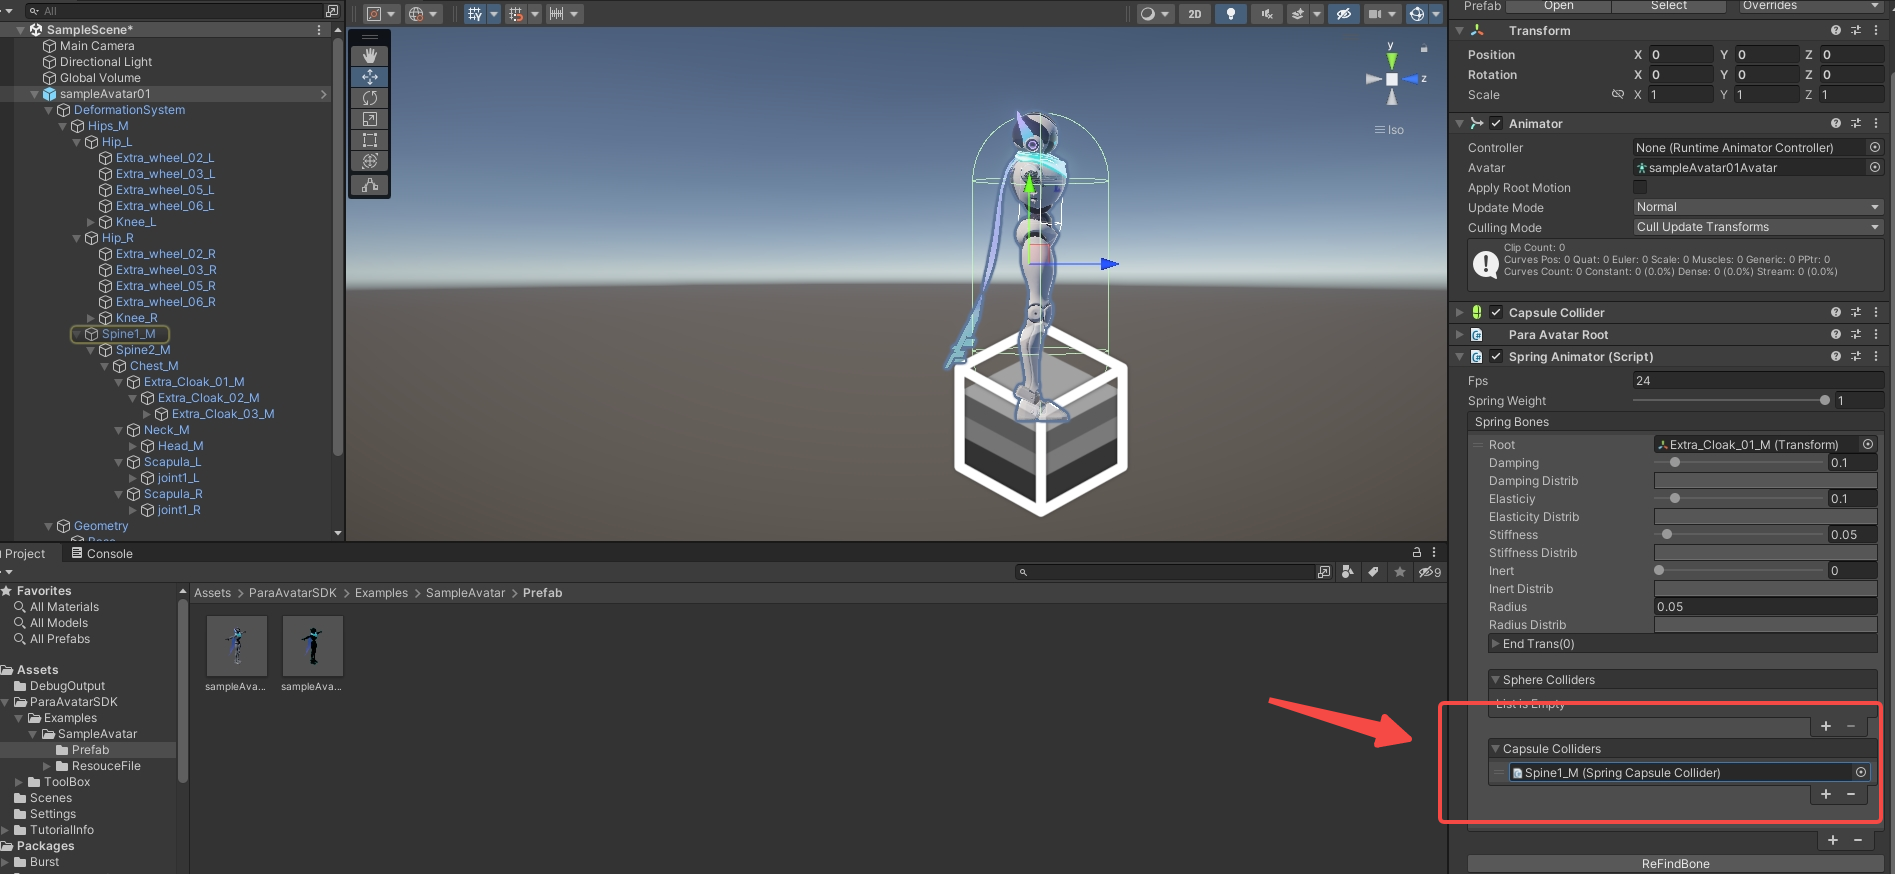
- For the Spring Animator component, create a Capsule Collider and drag the "Chest_M" object onto it, as shown in the following figure:
Upload and View the Effect
- Now the configuration is completed. Remember to save the Avatar's parameters to the prefab and upload it to the platform to view the effect. (For details about how to upload an Avatar, see this article.)
Updated about 1 year ago
Did this page help you?