
How to Reduce Blend Shapes of an Avatar
Blend shapes, also known as morph targets in 3DS Max and shape keys in Blender, are commonly used in 3D animation, especially facial animation, to drive the facial expressions of characters.
When used in facial animation, blend shapes can be referred to as facial features, expression benchmarks, or locators.
Warning:In this document, we assume that you already have installed Blender and Cats Blender Plugin.
You also need to prepare your own Avatar model (preferably in .fbx file format).
This section provides instructions in ideal conditions. During actual operations, unexpected errors may occur due to platform restrictions or engine problems.
Tips:If you haven't download or don't know how to download Cats Blender Plugin, check this document out, in which we provide detailed steps about how to download Cats Blender Plugin.
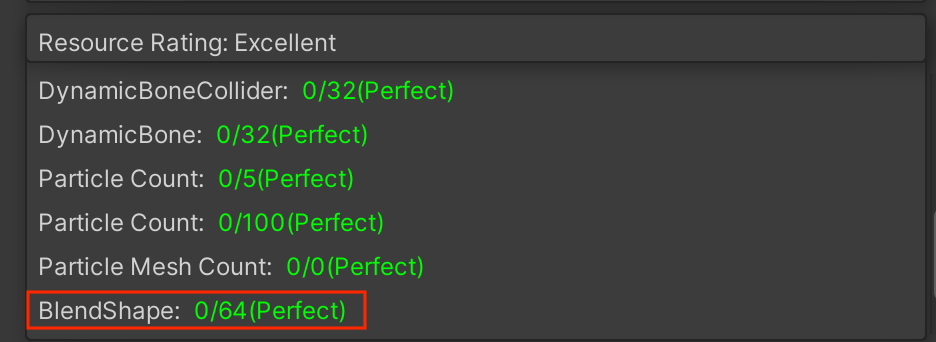
Note that the upload requirement is no more than 64 blend shapes. This means that if your model has over 64 blend shapes, it cannot be uploaded to the platform or software that you are using.
Reduce Blend Shapes or Shape Keys Using Blender
To reduce blend shapes or shape keys in Blender, you need to simplify shape variations in a 3D model to optimize performance or meet specific requirements.
Perform the following operations step by step:
- Open a project: Launch Blender and open the project that contains the 3D model whose blend shapes you want to reduce.
- Select the target model: Select the 3D model whose blend shapes you want to reduce.
- Enter Object Data Properties: Click the "Object Data Properties" icon in the property panel on the right side. It is usually represented by a triangle with three dots.
- Find the Shape Keys list: In the "Shape Keys" section, you will see a list of shape keys, which can be edited and managed.
- Reduce blend shapes or shape keys: Select the shape key you want to remove and click the - button.
- Repeat the previous step: Delete more shape keys in the same way described in step 5, until the final number of shape keys meets the requirements.
Tips:For each shape key, you can set a value next to the "Value" slider to view its effect. For example, select a shape key and set its value to 1.0 to see its impact on the model and confirm whether to delete it.

Export Your Avatar Model Using Cats Plugin
Once you have finished creating and editing your Avatar model, the next step is to export it. To export it, you can follow these steps:
- Navigate to the "Export Model" file in the Cats Plugin window and click it.
- Click "Continue to Export".
- Choose a location on your computer where you want to save the exported file and give it a name.
- Click the "Export FBX" button to begin the export process.
Tips:Note that if you want to export your model along with map images, you may change the "Path Mode"to "Copy".
Updated about 1 year ago