
How to Bind Bones to a Character?
Introduction: Are you having a hard time binding bones to your character model? If you are, this FAQ can help you solve the issue. This tutorial describes how to use Blender to effectively bind bones to a character model in detail. Let's get started!
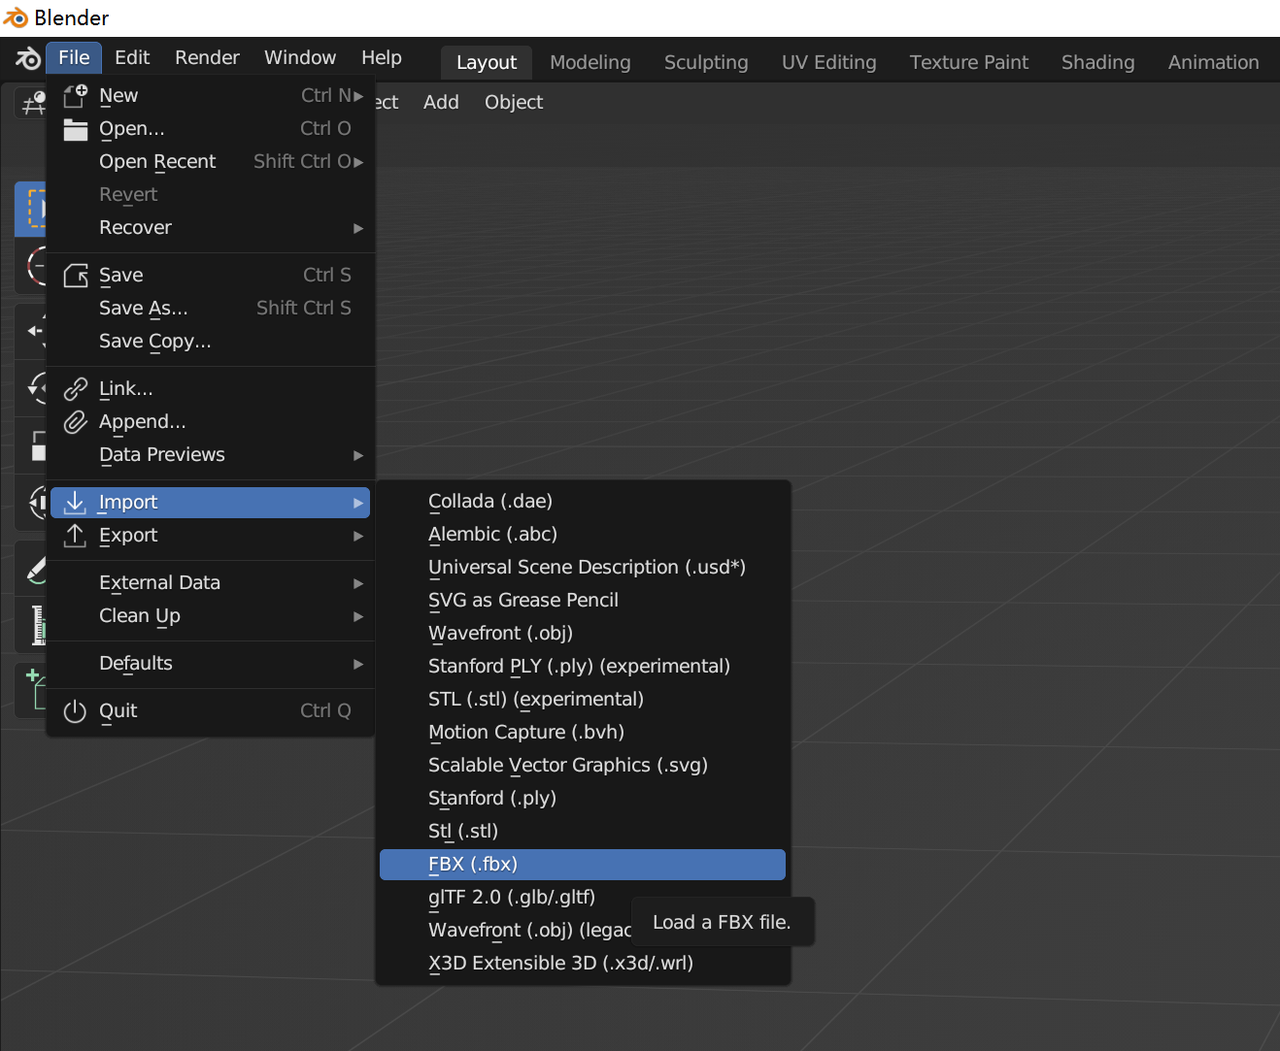
Step 1. Open Blender and import the FBX model.
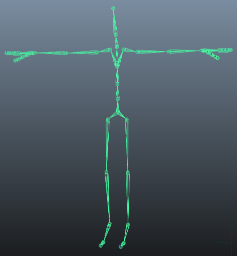
Step 2. Add bones.
Note:Only an Avatar with humanoid bones can be uploaded successfully.
For a humanoid model, there are specific requirements for the skeleton so that Unity can match it to a humanoid Avatar.
- A minimum of 15 bones. Your skeleton needs to have at least the required bones in place.
- To improve your chances for finding a match to the Avatar, name your bones in a way that reflects the body parts they represent. For example, "LeftArm" and "RightForearm" make it clear what these bones control.
- The joint/bone hierarchy should follow the natural structure of the character you are creating. Given that arms and legs come in pairs, you should use a consistent convention for naming them (for example, "arm_L" for the left arm, "arm_R" for the right arm). Possible structures for the hierarchy include:
- HIPS - spine - chest - shoulders - arm - forearm - hand
- HIPS - spine - chest - neck - head
- HIPS - UpLeg - Leg - foot - toe - toe_end
Method 1: Use a plug-in to apply a humanoid bone template.
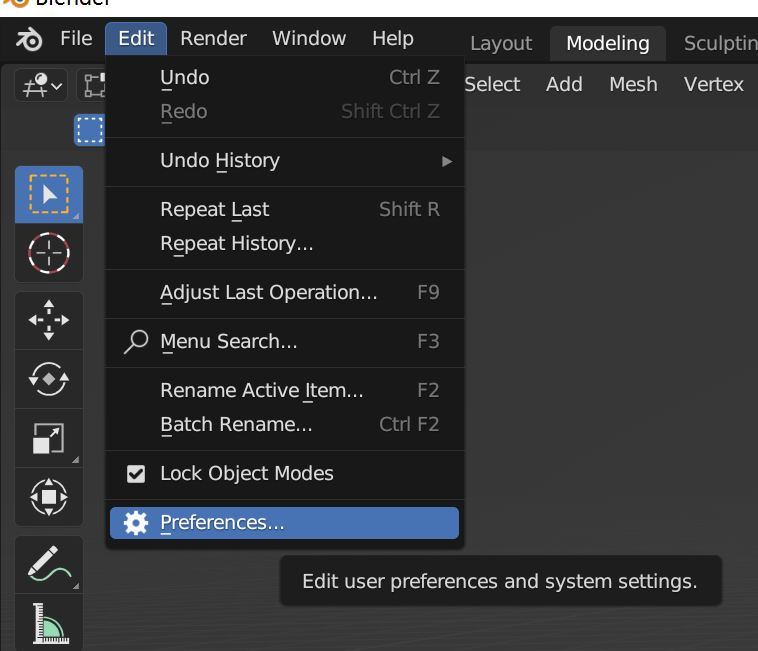
- Click Edit -> Preferences in the upper-right corner.
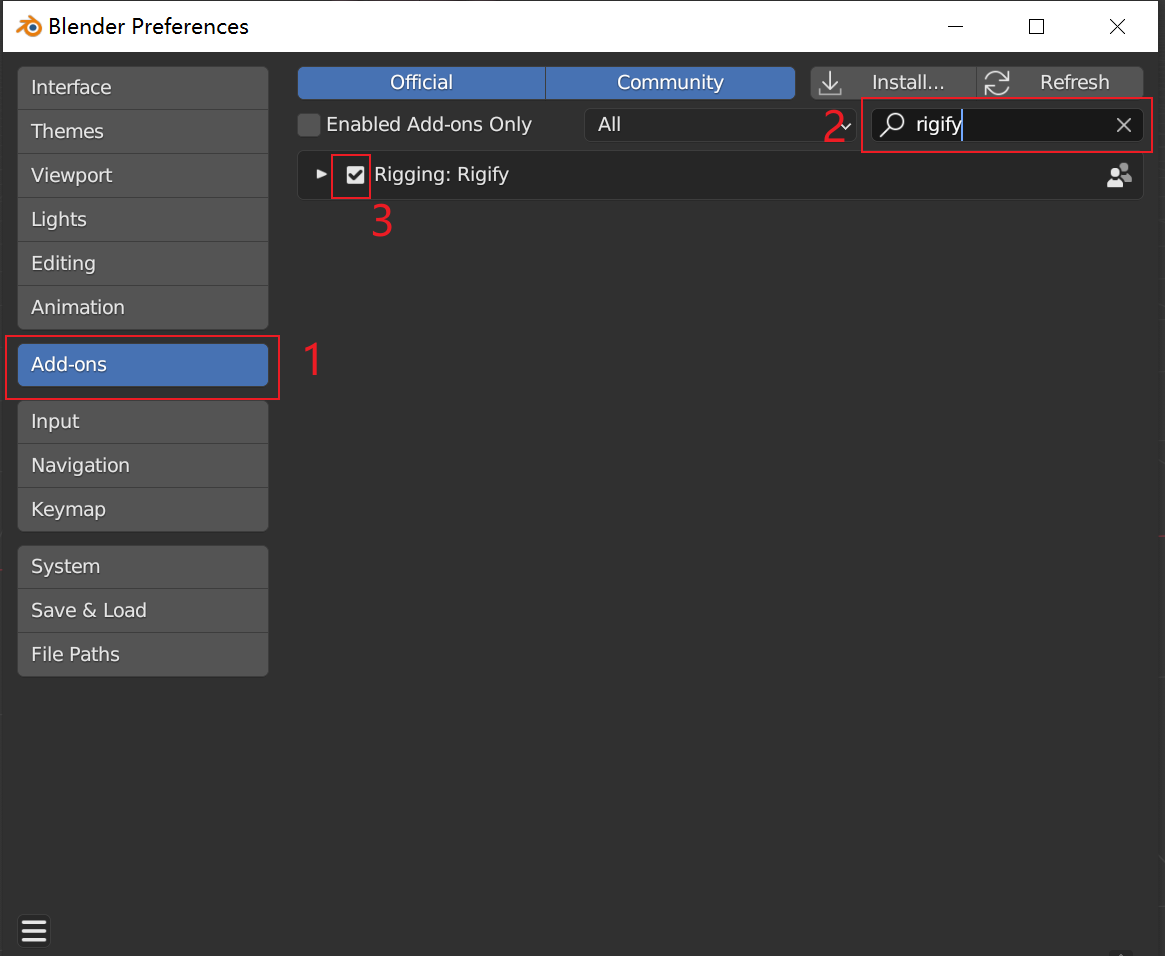
- Click Add-ons in the upper-right corner, search for rigify, and then select the plug-in.
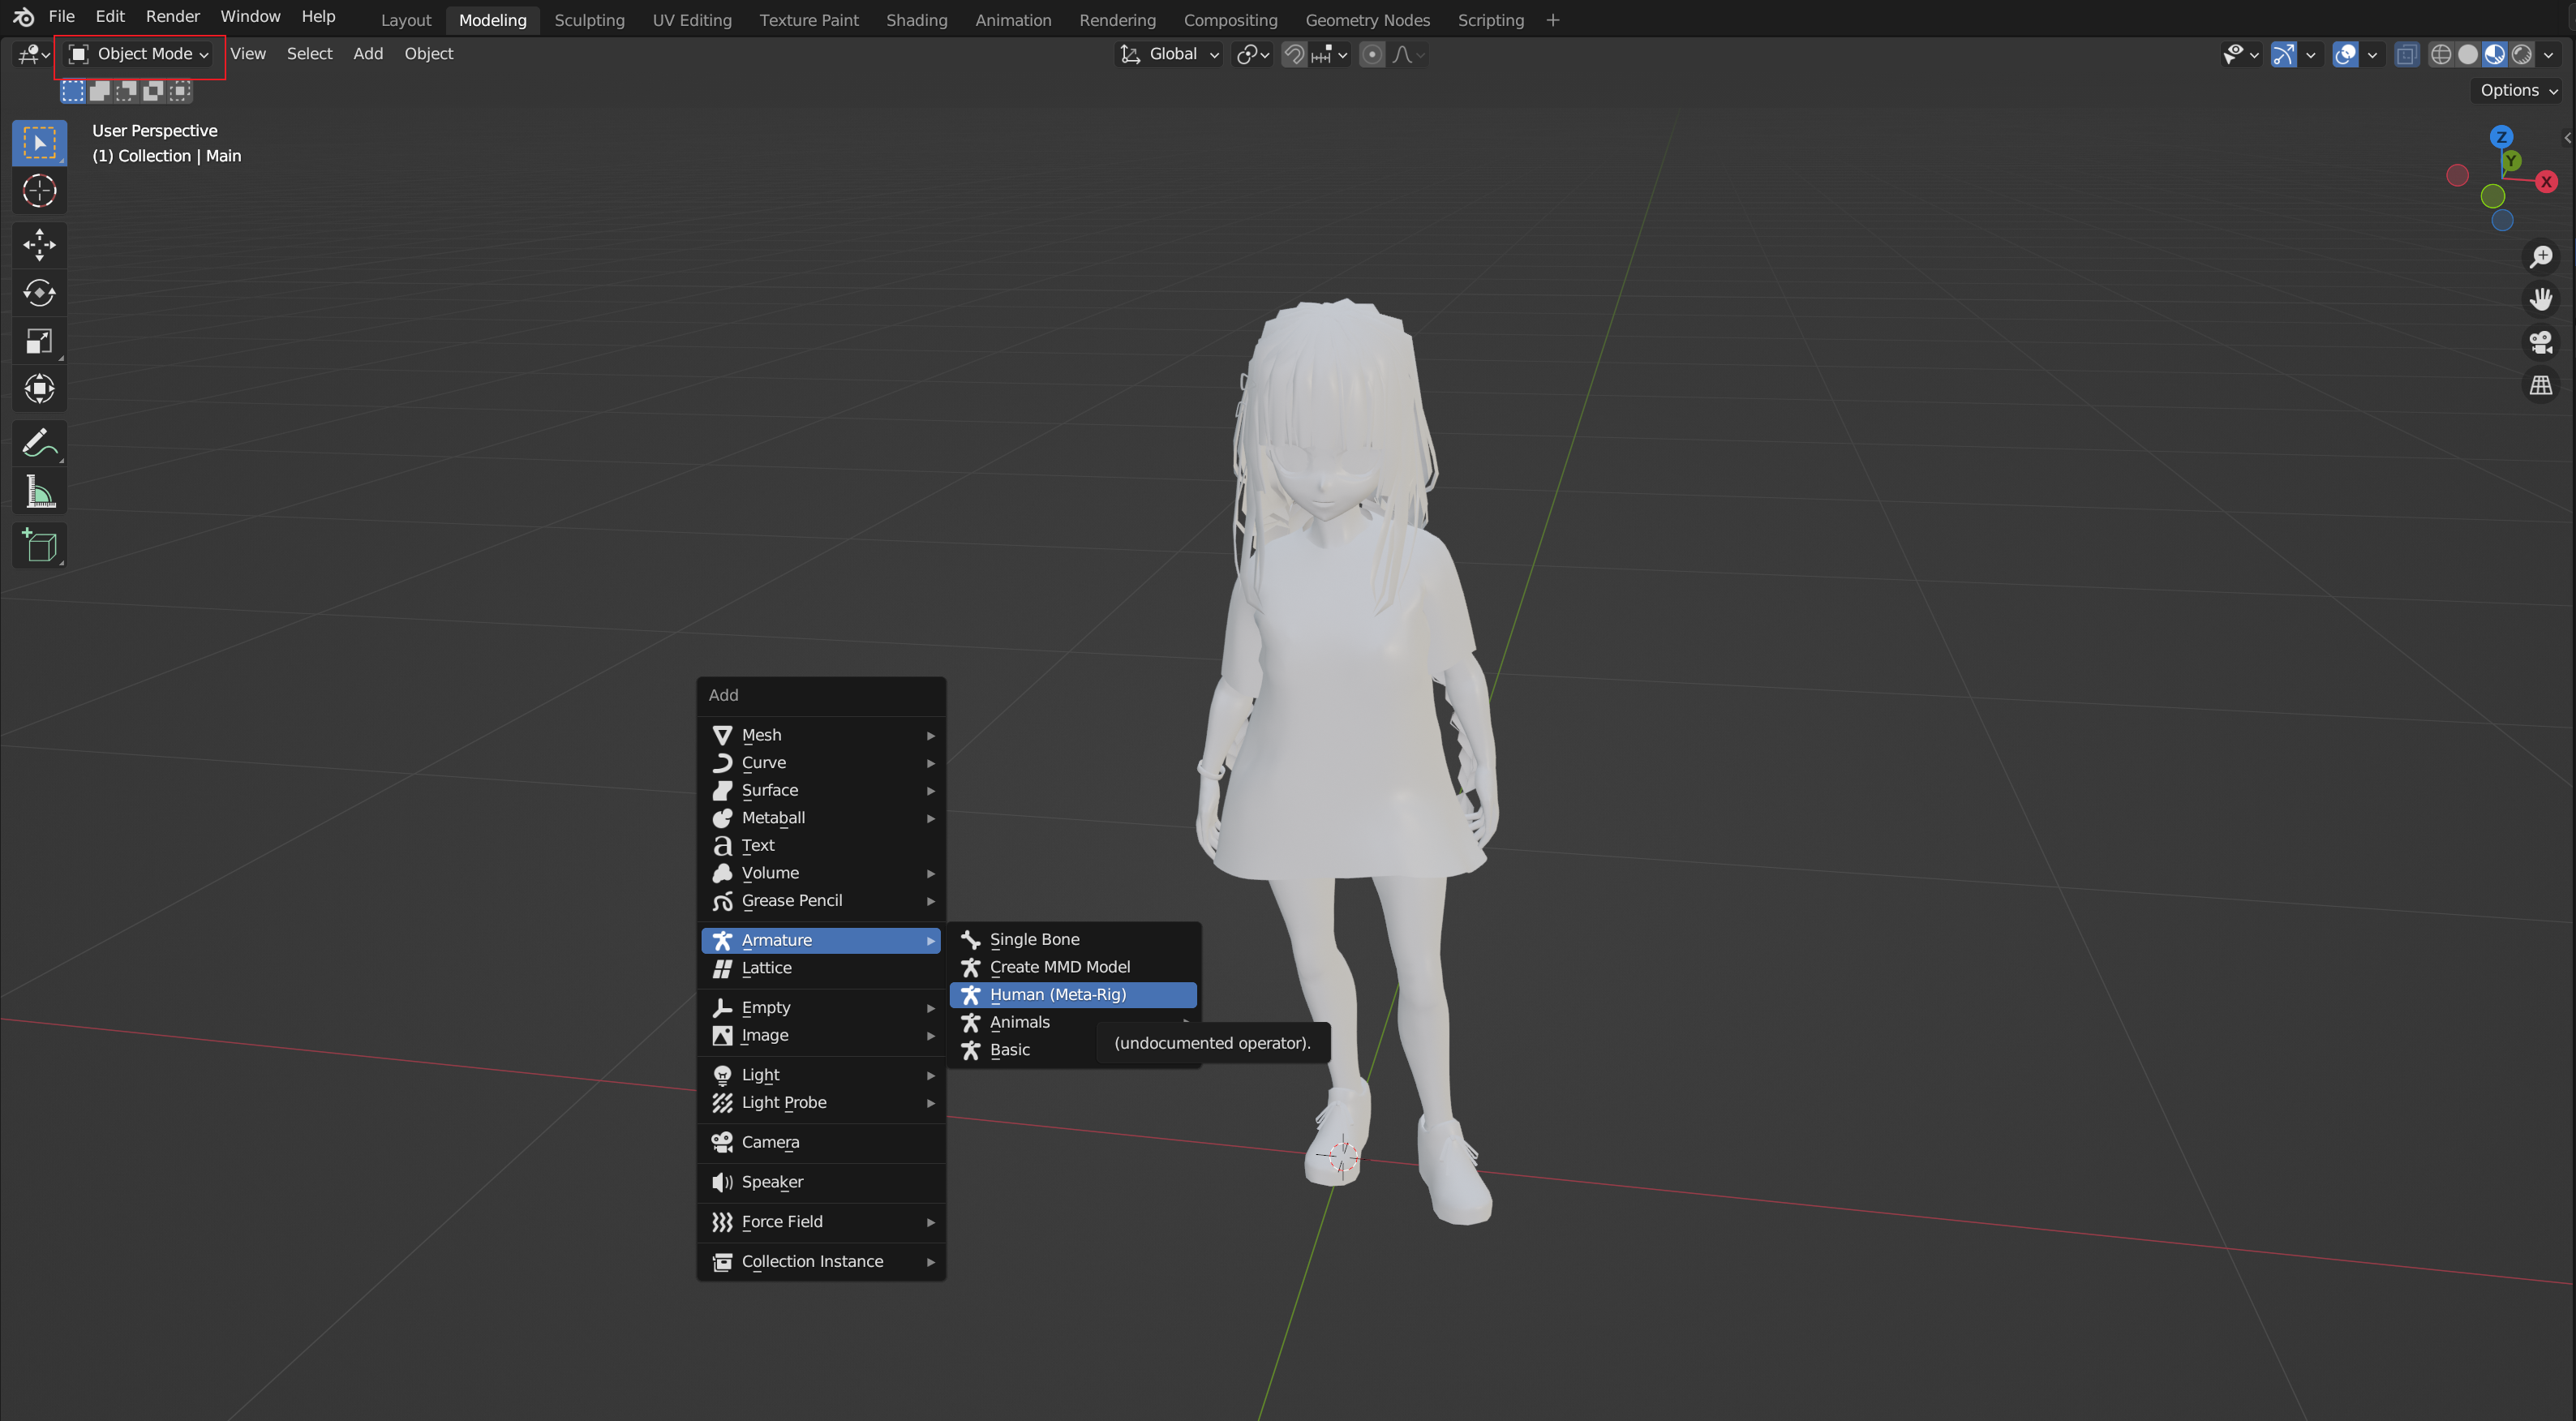
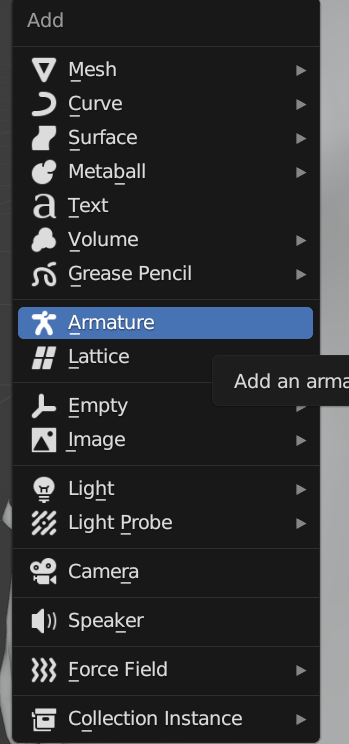
- In Object Mode, press Shift + A and choose Armature -> Human (Meta-Rig)
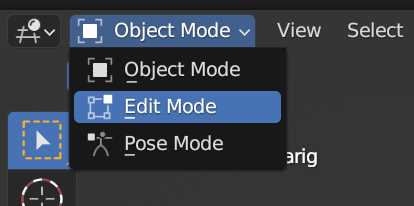
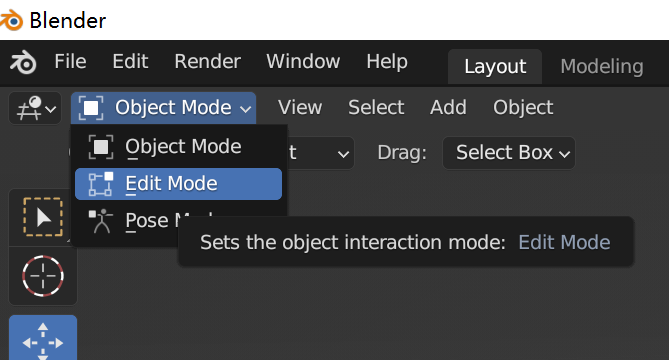
- In the upper-left corner, switch to Edit Mode to further edit and delete the bones.
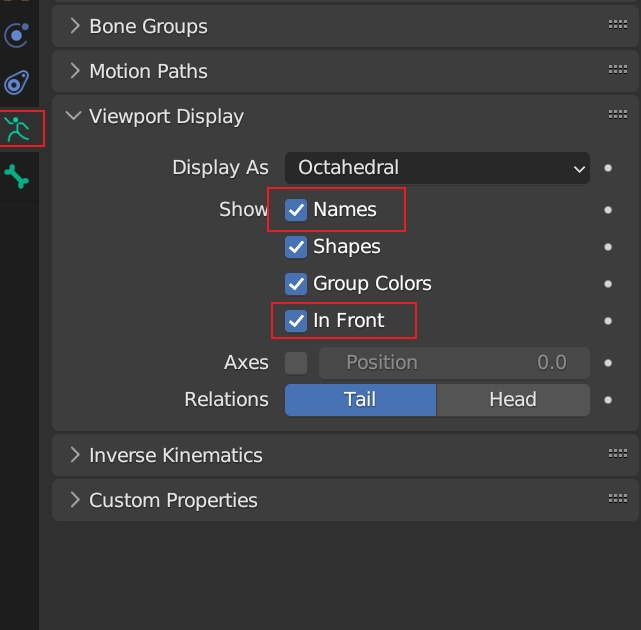
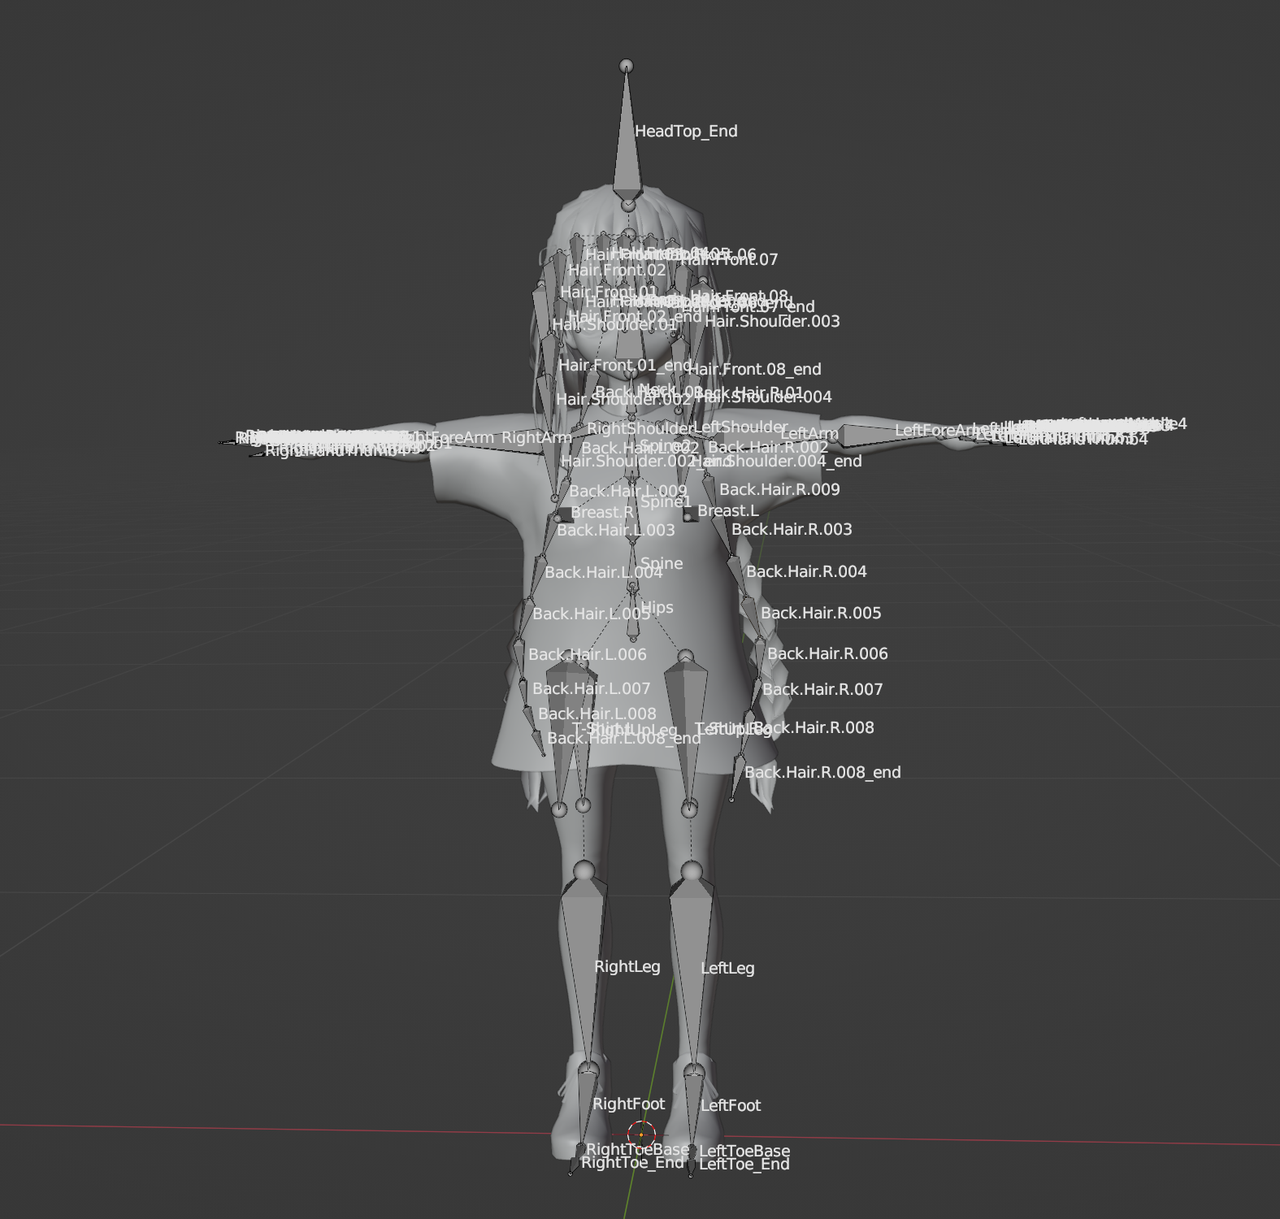
- Select Names and In front to display the names of the bones and make the bones consistently visible on the top of the model.
- Select some redundant bones (such as facial bones) and remove them. Pressing Shift can select or unselect multiple bones. Pressing Delete can delete bones.
- Select Move to move bones and adjust their positions.
- Select Names and In front to display the names of the bones and make the bones consistently visible on the top of the model.
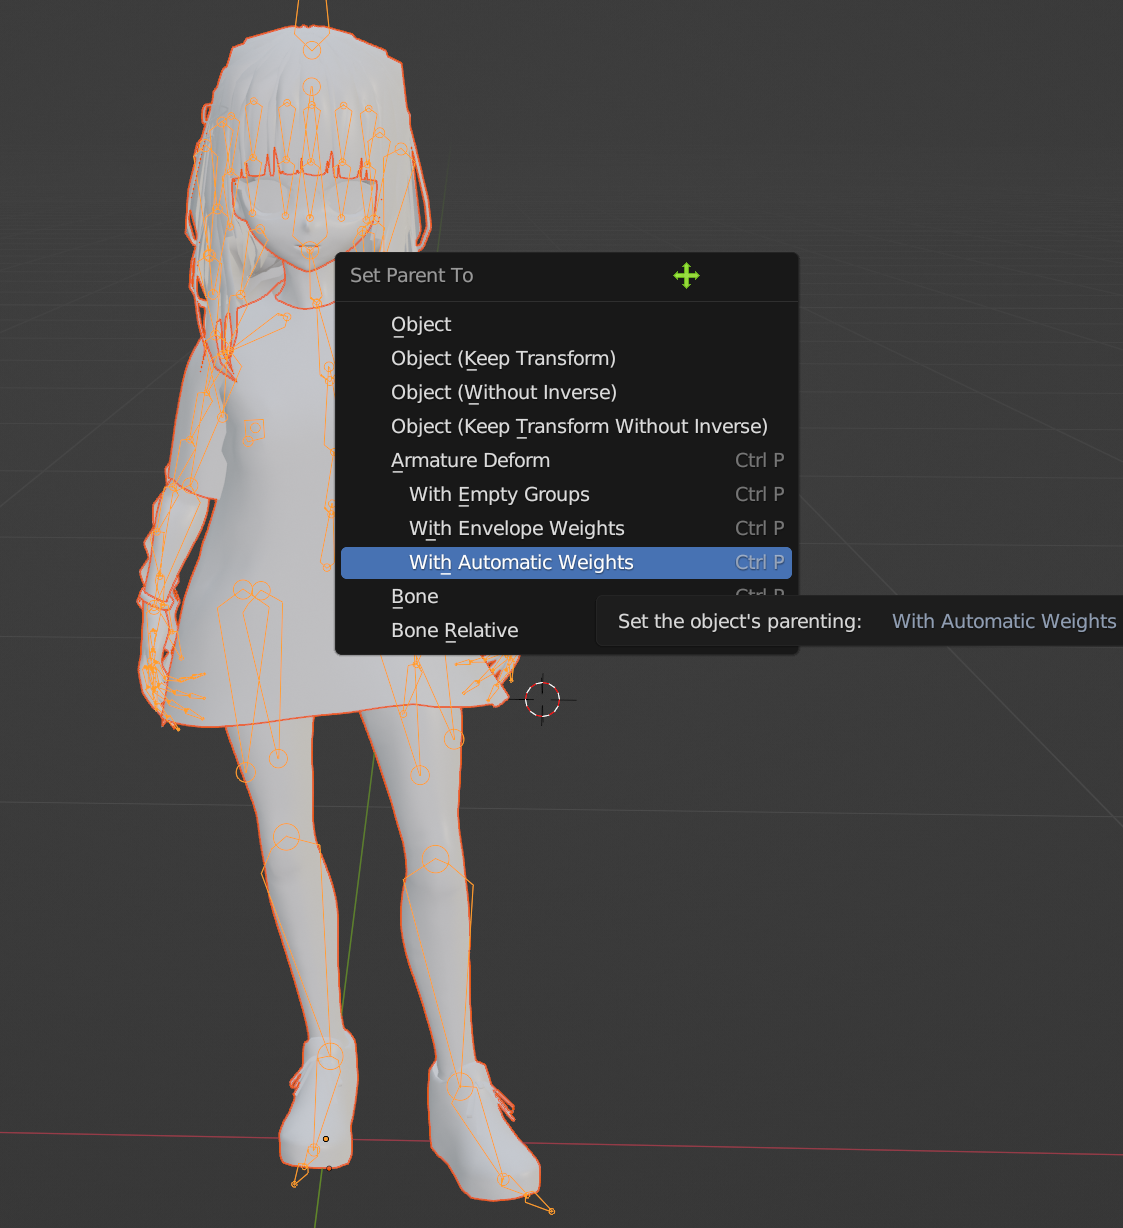
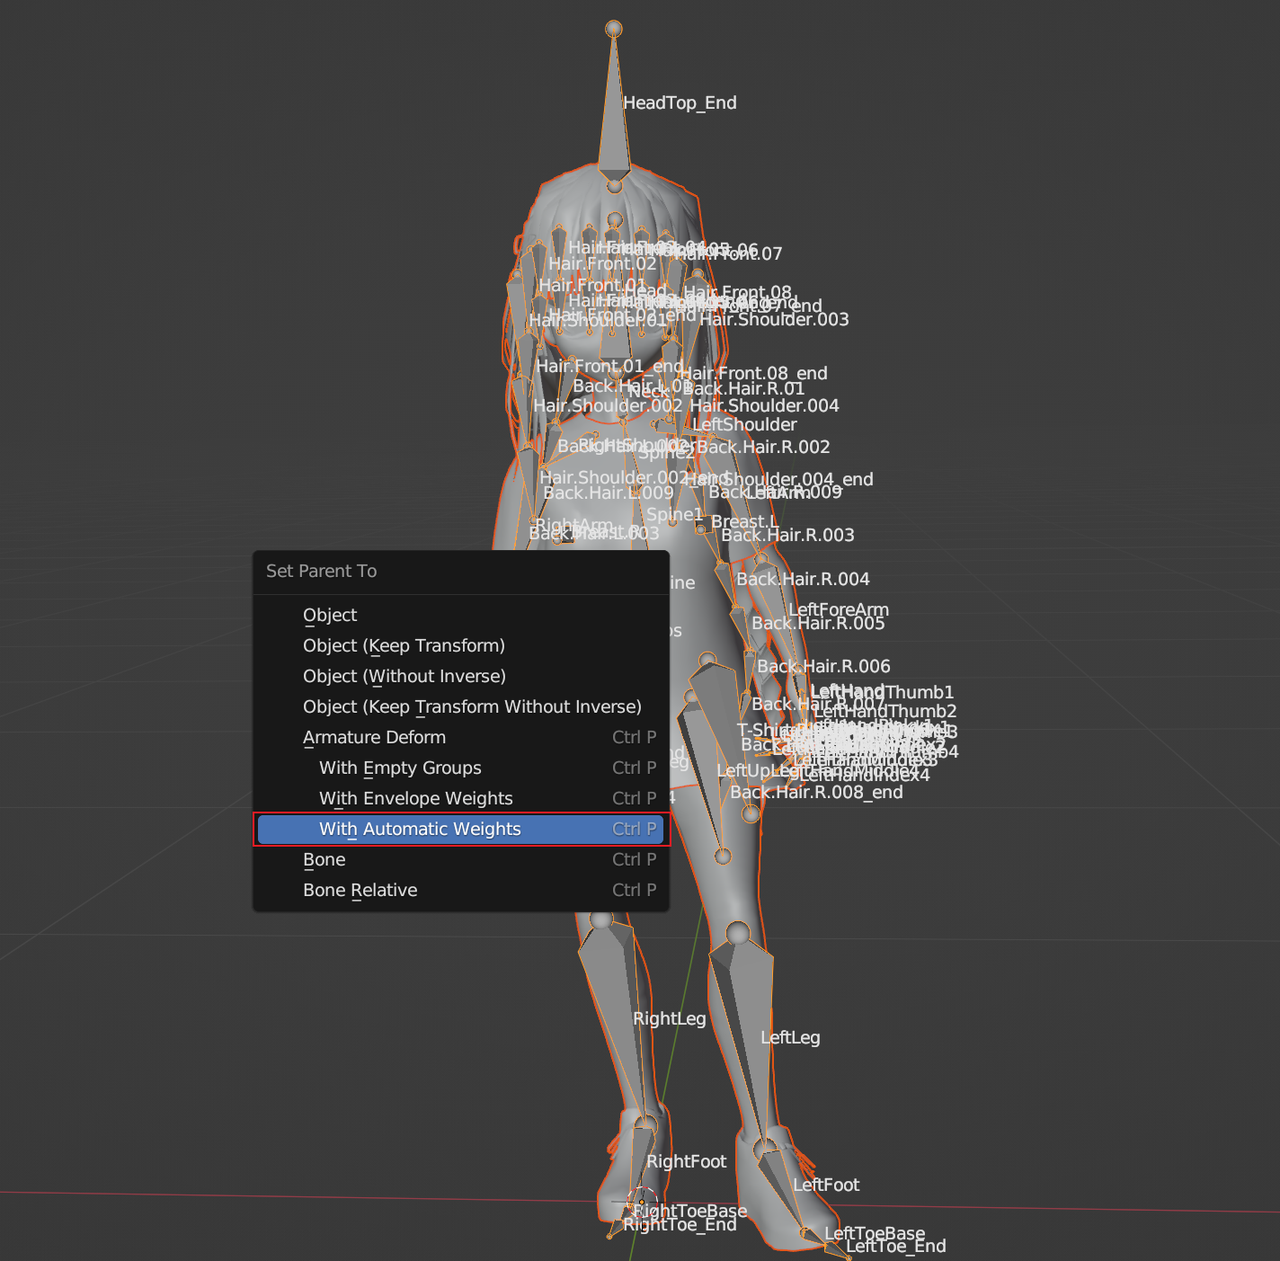
- After you make sure the bones are completely aligned with the model, you must bind the bones to the model. Switch back to Object Mode. In Object Mode, select the grid and then bones, press Ctrl + P, and choose With Automatic Weights.
Method 2: Directly build bones.
- Press Shift + A and choose Armature to create your first bones.
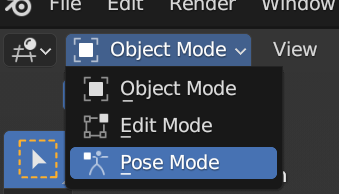
- Click the drop-down arrow next to Object Mode in the upper-left corner to display multiple mode options. Select Edit Mode in which you can adjust the positions and sizes of the bones.
- Select Names and In front to display the names of the bones and make the bones consistently visible on the top of the model.

- Select Move to move bones and adjust their positions.
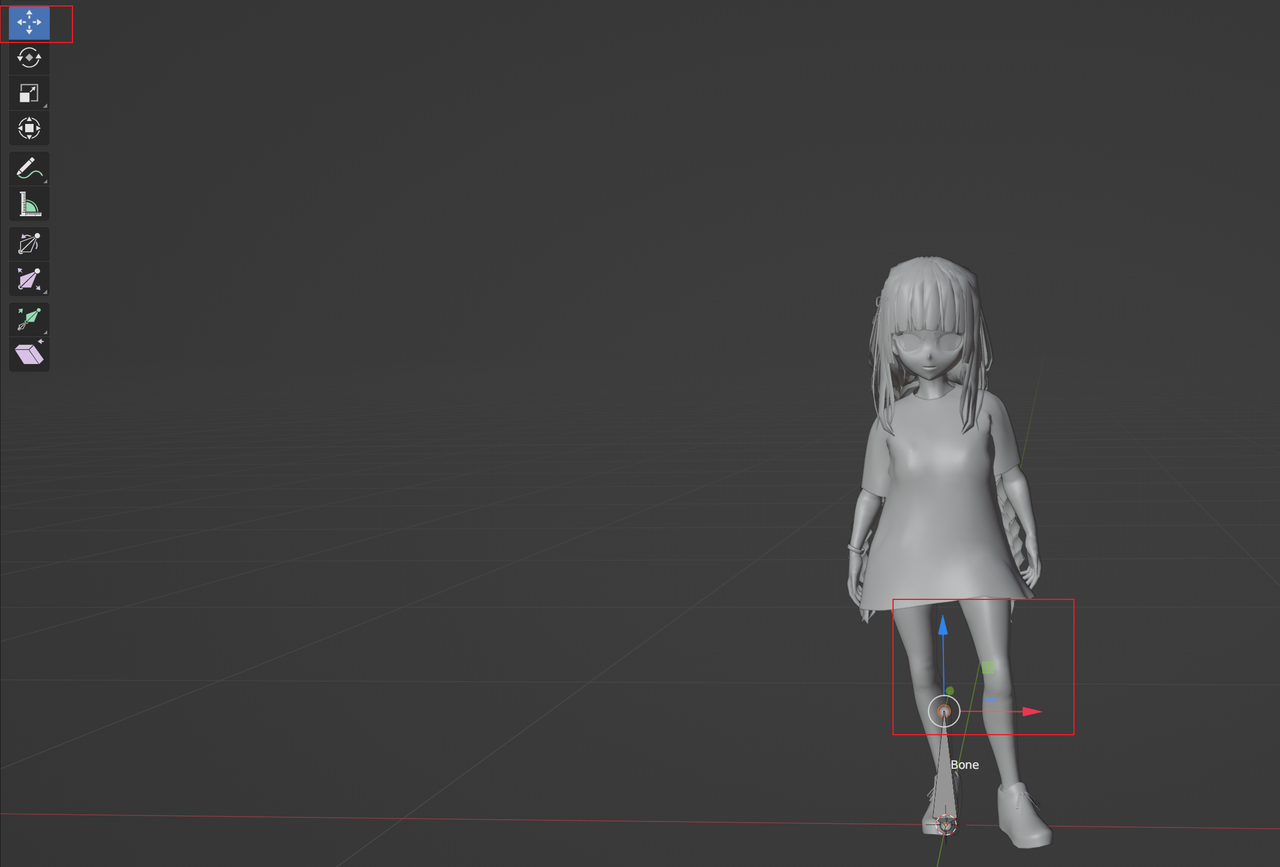
- Select a node and press E to create a new bone sub-node. Press X, Y, and Z to extend new bones in the corresponding direction. Left-click with the mouse to determine the bone positions. Now you've finished building bones.

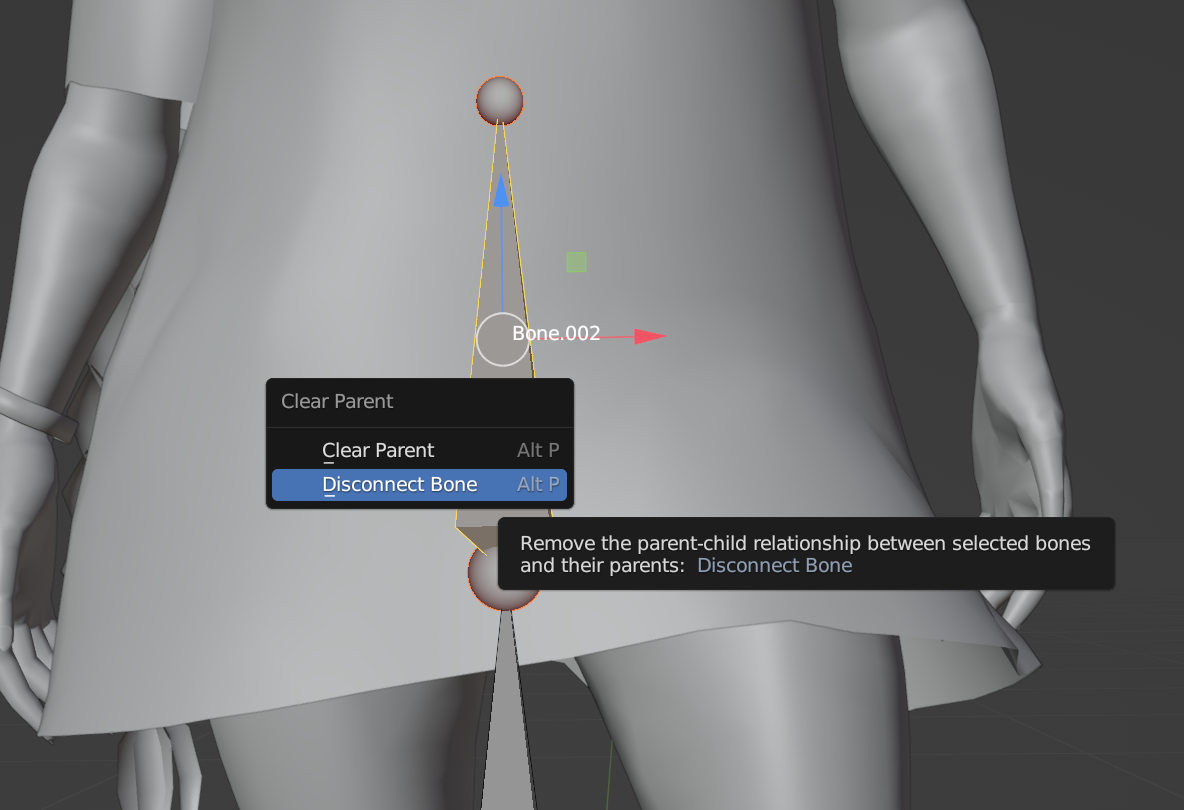
- To disconnect two bones, select them, press Alt + P, and choose Disconnect Bone.
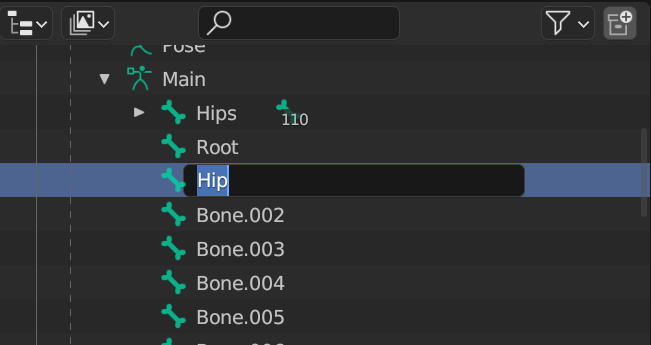
- You can name bones. Double-click a bone node in the upper-right corner to rename the node.
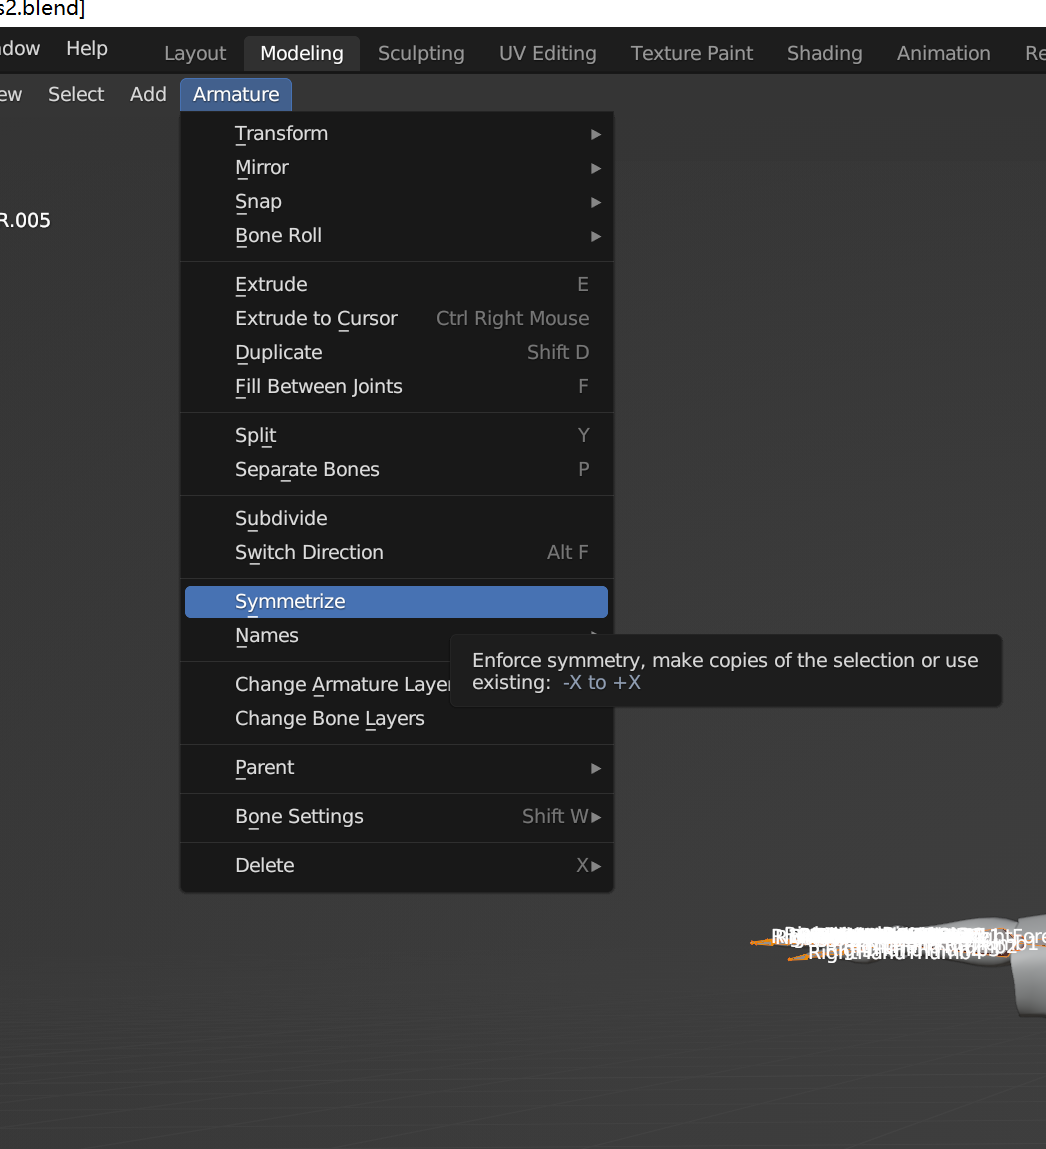
- Click A to select all. Choose Armature -> Symmetrize to mirror all bones whose names end with _R or .R along the X-axis.
- Select Names and In front to display the names of the bones and make the bones consistently visible on the top of the model.
- After you finish building bones, you must bind them to the model. Switch back to Object Mode. In Object Mode, select the grid and then bones, press Ctrl + P, and choose With Automatic Weights.
- Switch to Pose Mode to change the pose of the character.
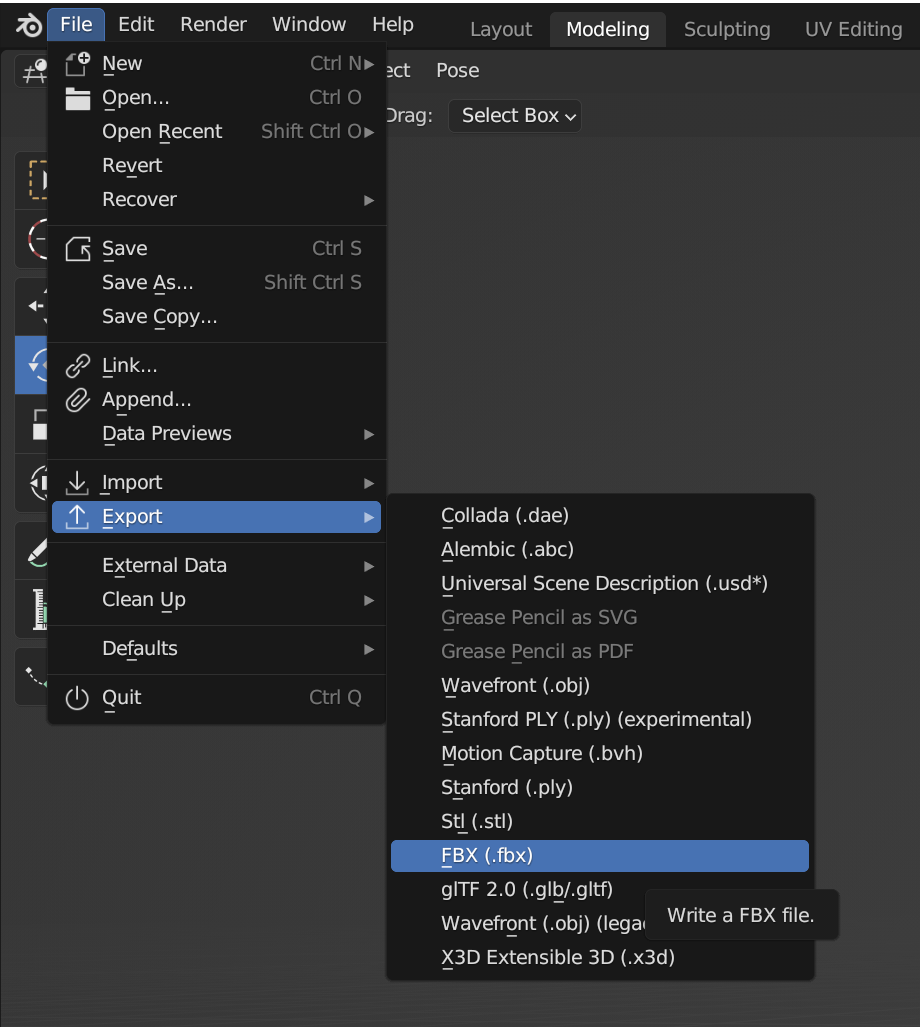
Step 3. Export the FBX file.
Select File -> Export -> FBX to export the model with bones.
Step 4. Import the FBX file to Unity.
After you import the FBX file to Unity, select the FBX file, and change the animation type to Humanoid in the Inspector window to start further Avatar creation.

Updated about 1 year ago
Did this page help you?