Avatar Shader Conversion
To let the client run smoothly and create more space for you to innovate in other aspects, we put some limitations on avatar shaders for potential optimization. However, these limitations may impact you using avatar shaders freely. We sincerely apologize for this and hope that you can understand.
Due to design advantages, we choose Unity URP pipelines. However, considering that most user resources are Builtin pipeline resources, to reduce inconvenience and facilitate user operations, we developed a shader conversion tool. Now, let’s introduce the shader conversion process.
Tool Access
There are two ways to access the conversion tool:
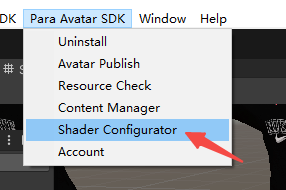
- Access the tool from the top menu bar.

Install avatarSDK, log in the account, and select Para Avatar SDK > Shader Configurator from the top menu bar of Unity.

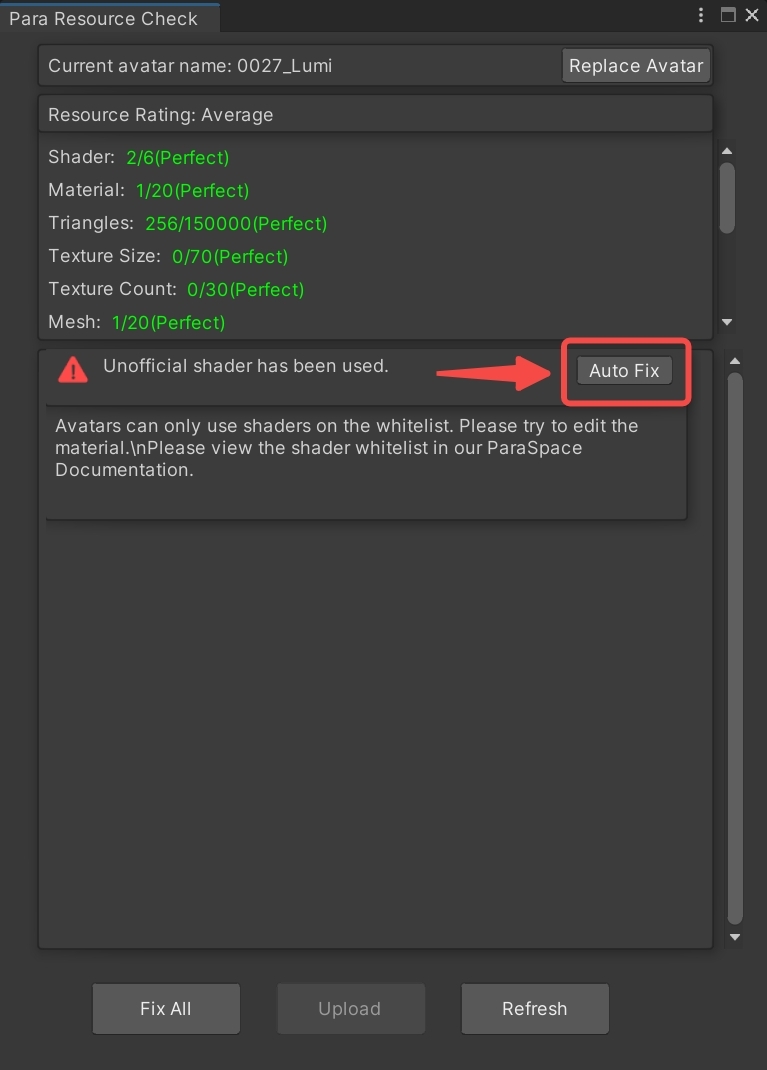
- Access through AutoFix.

Press the AutoFix button from the Resource Check panel to bring up the shader conversion panel.
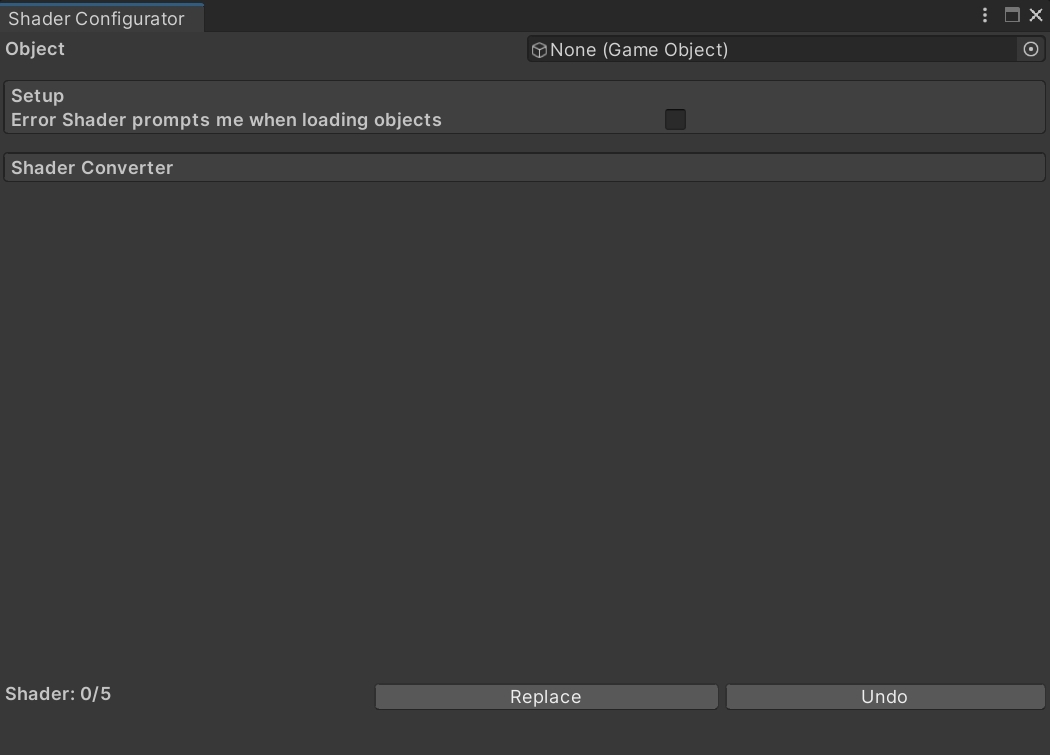
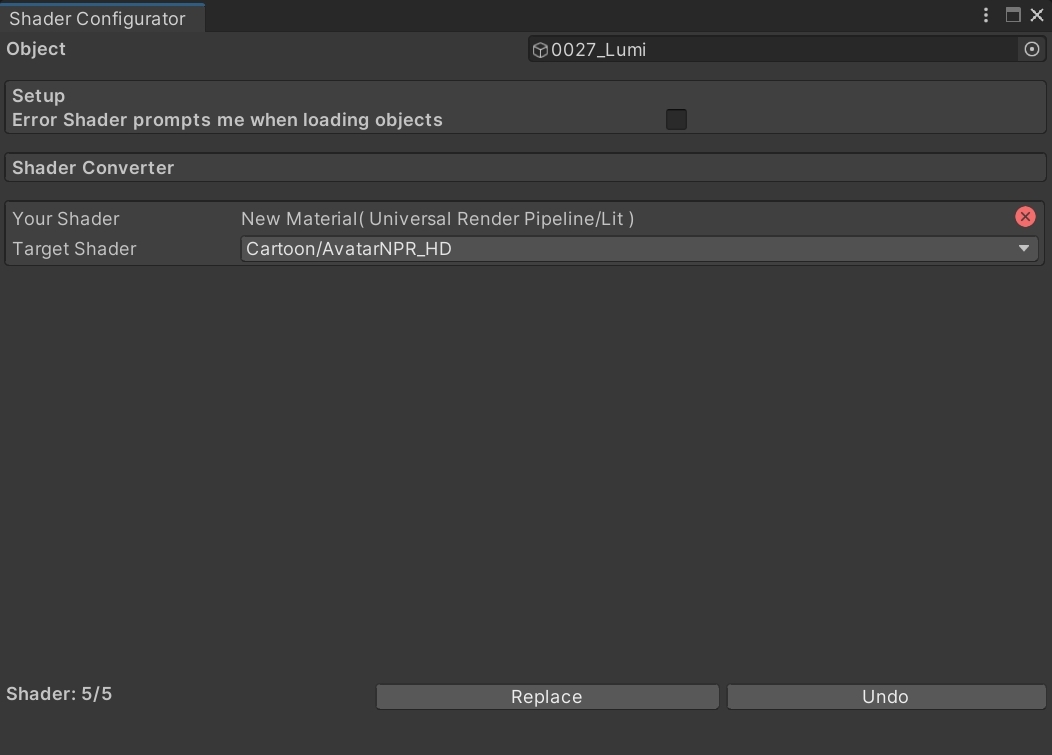
NoteThe big difference between two ways is that if you use AutoFix to bring up the shader conversion panel, the shader conversion panel automatically identifies the avatar resource as you have already selected the avatar to be submitted, and you can directly convert shaders based on the prompted instructions. However, if you use the menu to bring up the shader conversion panel, you need to select the avatar object to be converted in the scene and drag it to the input box at the top of the panel.

Introduction to Tool
Setup
Error Shader prompts me when loading objects: Once it is checked, for any error occurred when you import an avatar next time, the shader conversion panel will be poped up automatically. (The default state is off)
Shader Converter
Rendering Style: This option is used to select the shader style of avatar resources. Para currently supports two types of shaders: Cartoon and PBR. You can select the corresponding type as needed and the following options will be automatically set to the selected style.
Meanwhile, all the following subitems can be set to replace the shaders separately as needed.
Updated 9 months ago