
How to Configure a Simple Expression for an Avatar?
How to Configure a Button Action for an Avatar
In ParaSpace, an Avatar can perform an action in real time or change clothes or decorations on the body. By using the Expressions together with Animator Controllers, you can play animations controlled by the Animator Controllers in real time on the platform.
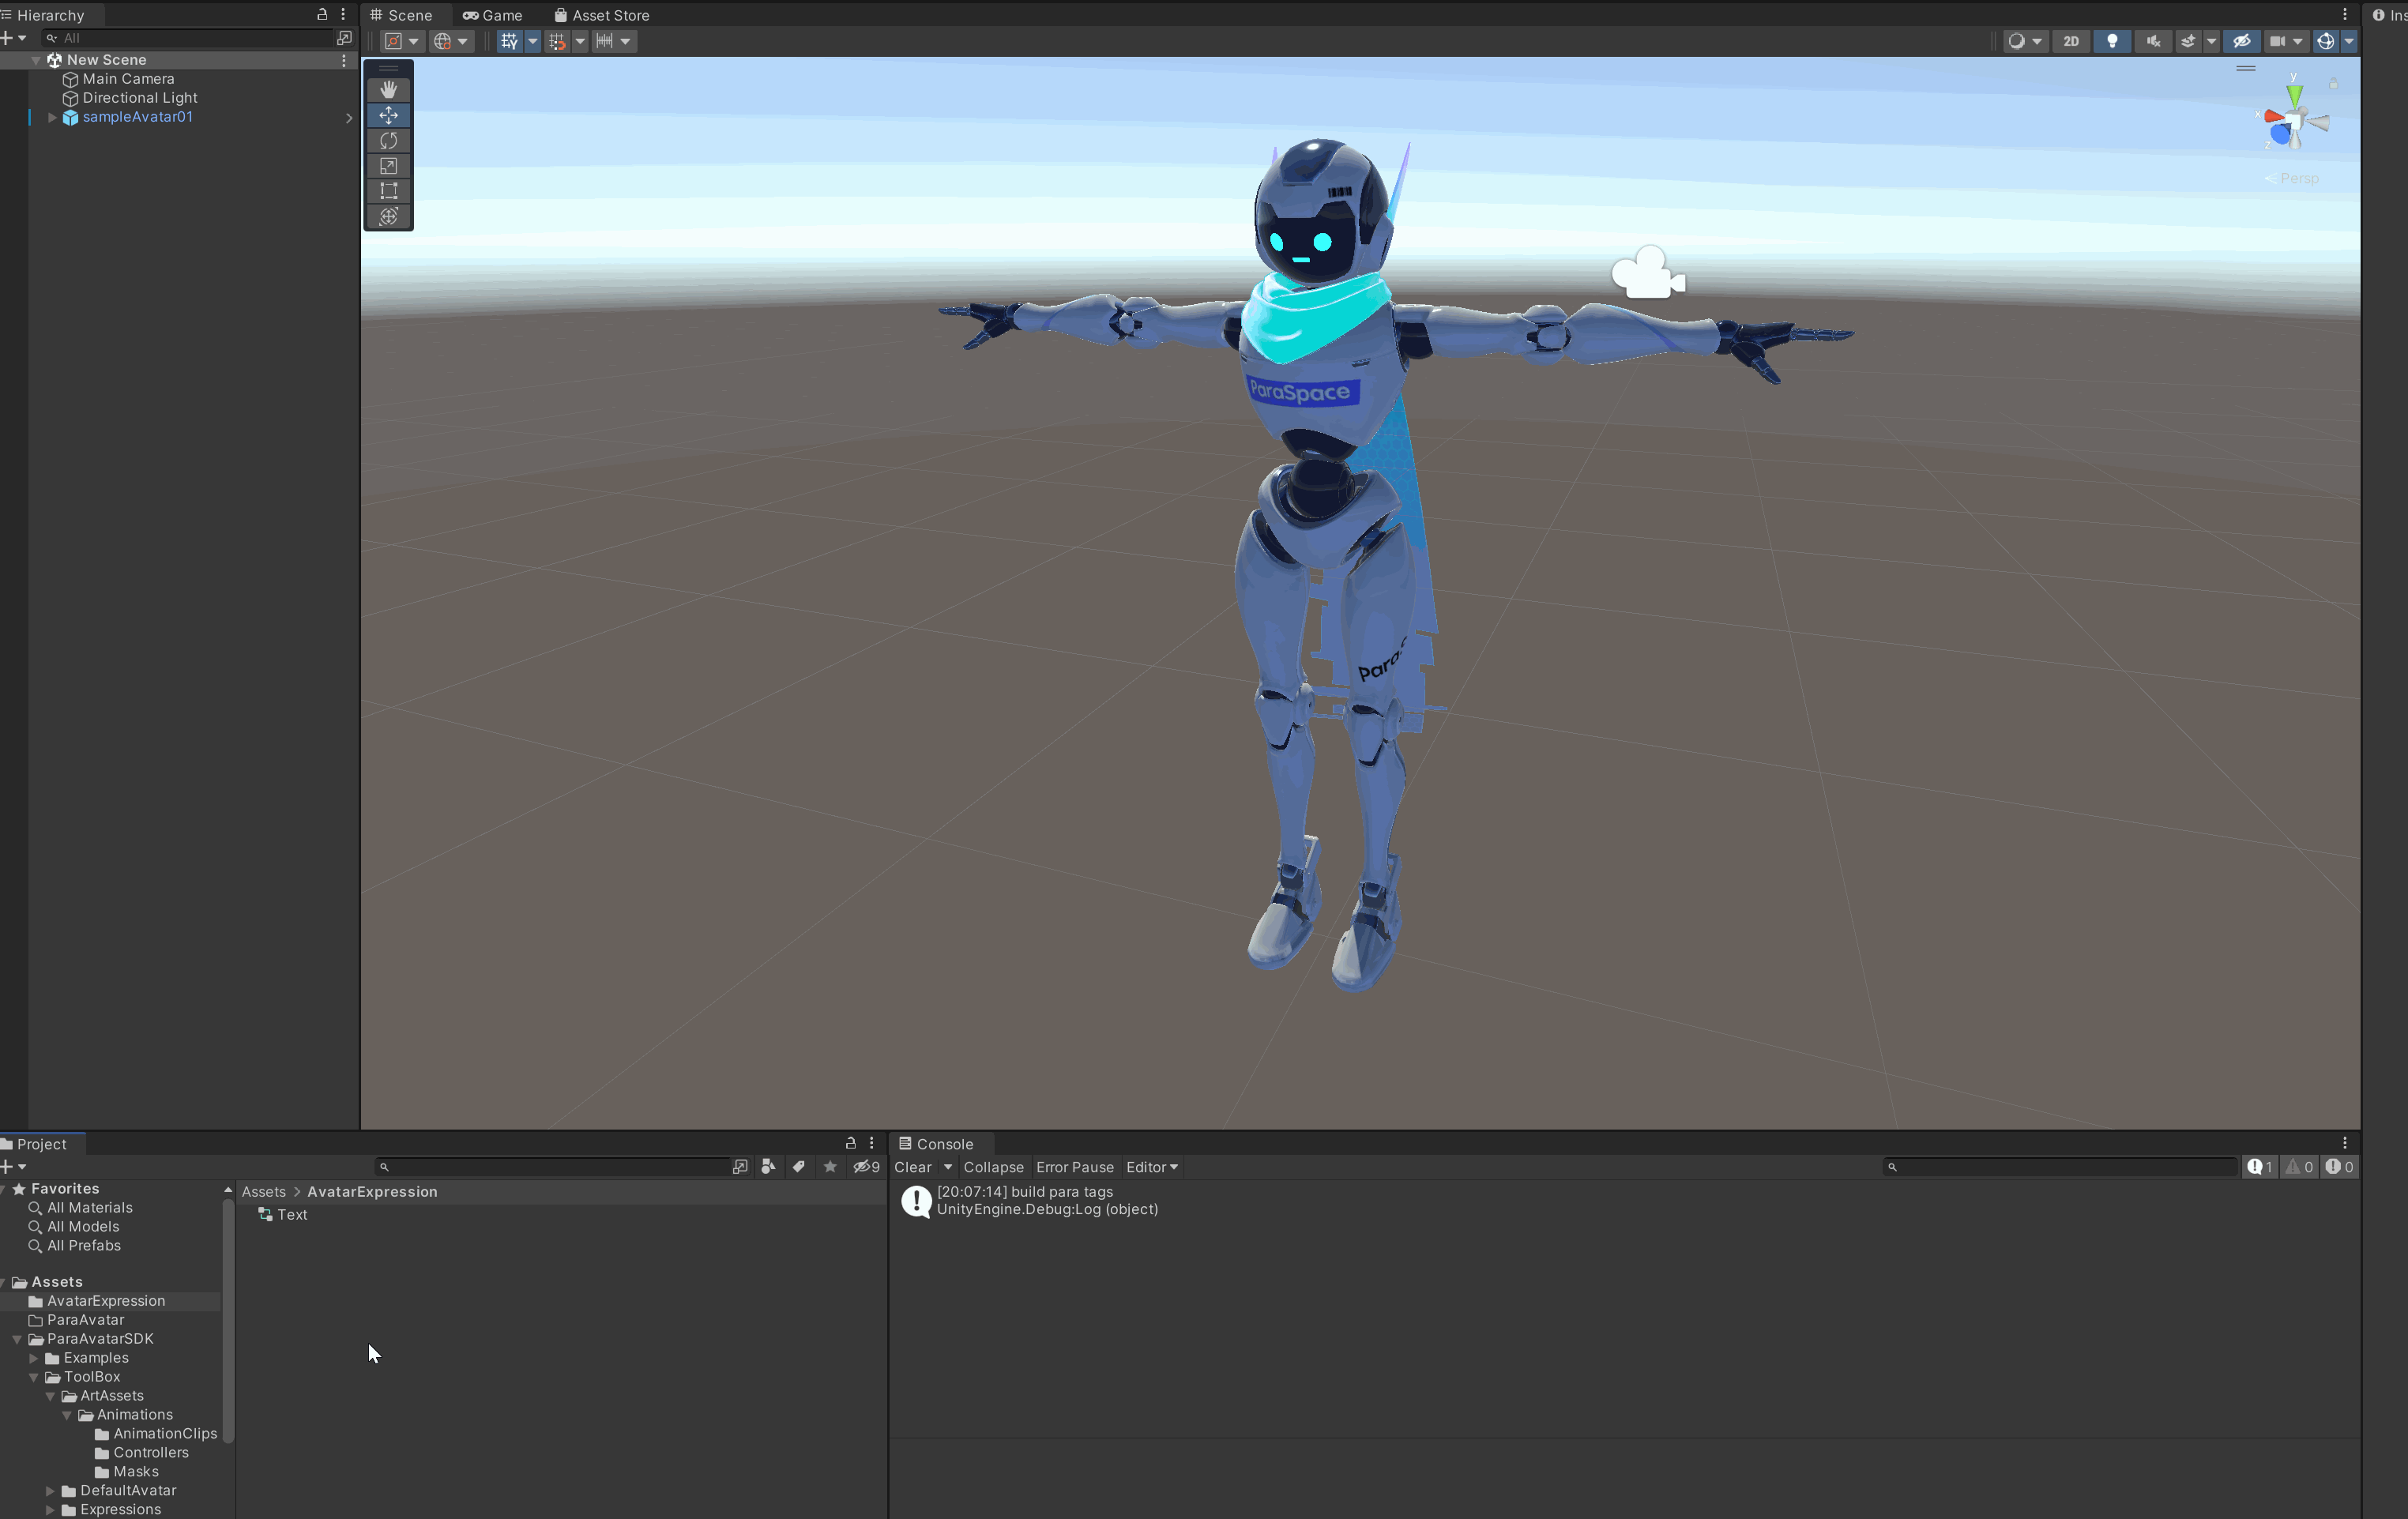
In this tutorial, we will take a button as an example to show you how to configure an expression button that plays an action after being clicked. The Avatar used in this tutorial comes with the SDK. You can obtain it from the path Assets\ParaAvatarSDK\Examples\SampleAvatar\Prefab.
Create and Configure an Animator Controller
Expressions is a set of tools that take effect based on Unity’s Animator Controllers. In this document, we will use the simplest example to walk you through the process of creating an Animator Controller and configuring a button. To learn more configuration capabilities of the Expressions, seeAvatar Animation and Expression System.
Create an Animator Controller
Right-click on the file area of the Project window and choose Create -> Animator Controller to create a new Animator Controller in the window of the current directory.
Configure the Animator Controller
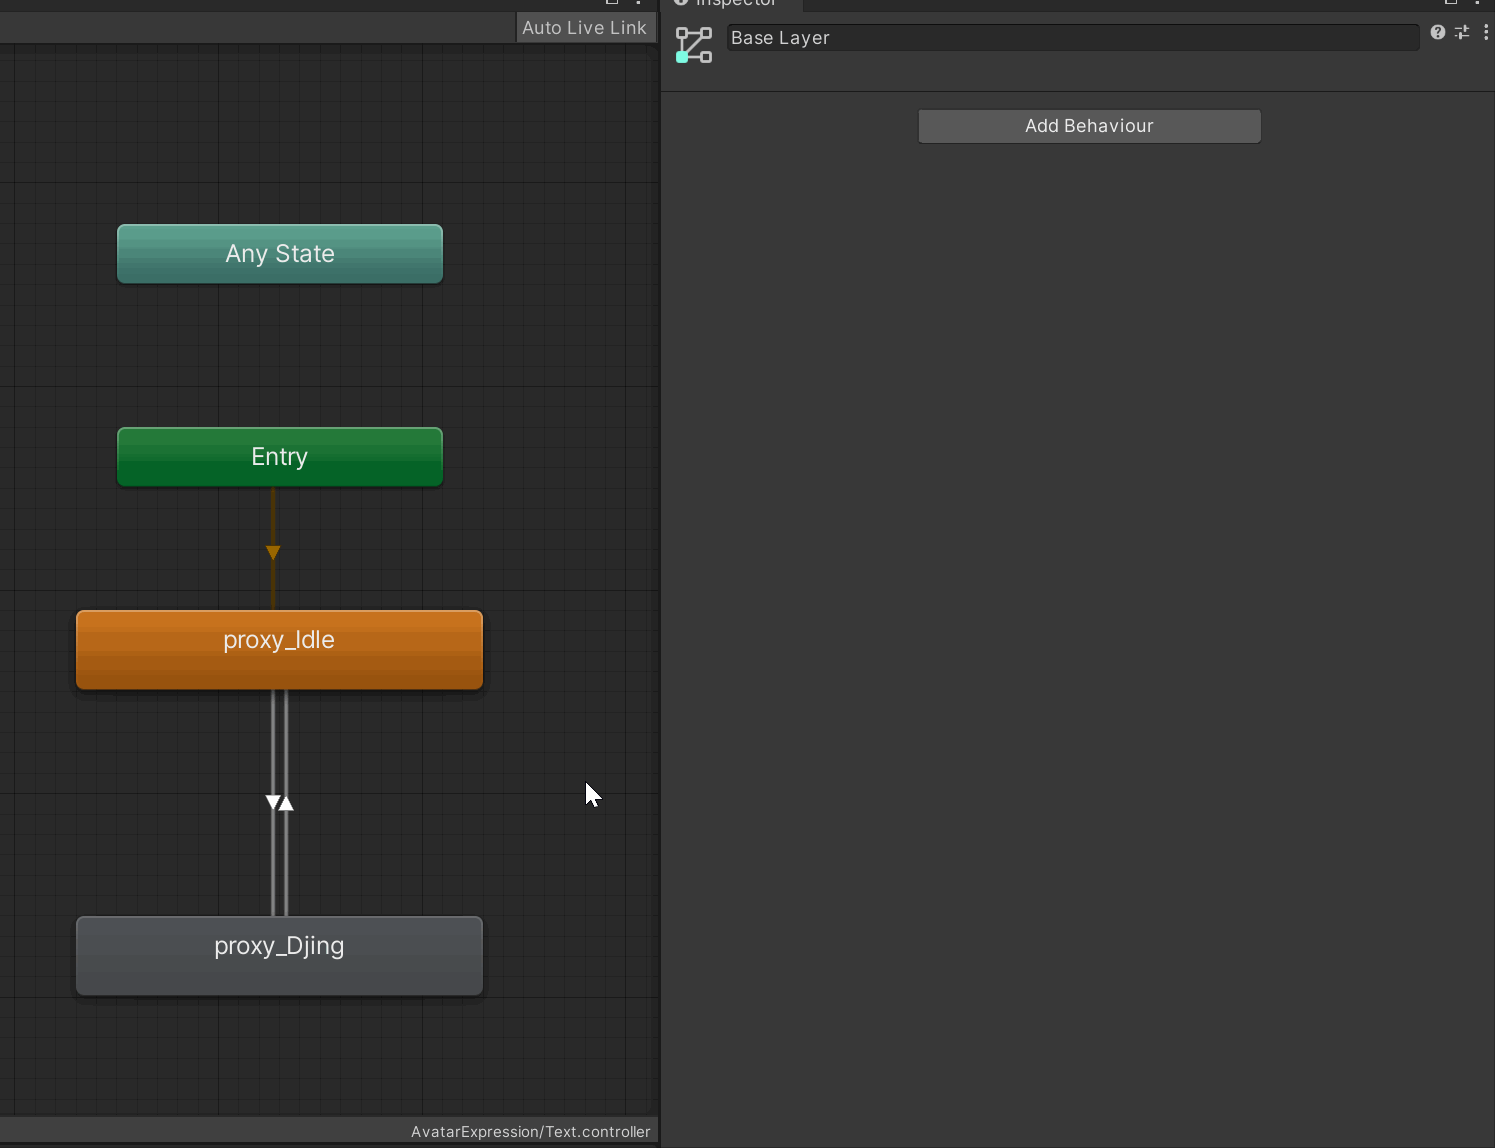
Double-click your Animator Controller to go to the Animator window for editing the Animator Controller.
In this window, you can edit the animation content of an Animator Controller.
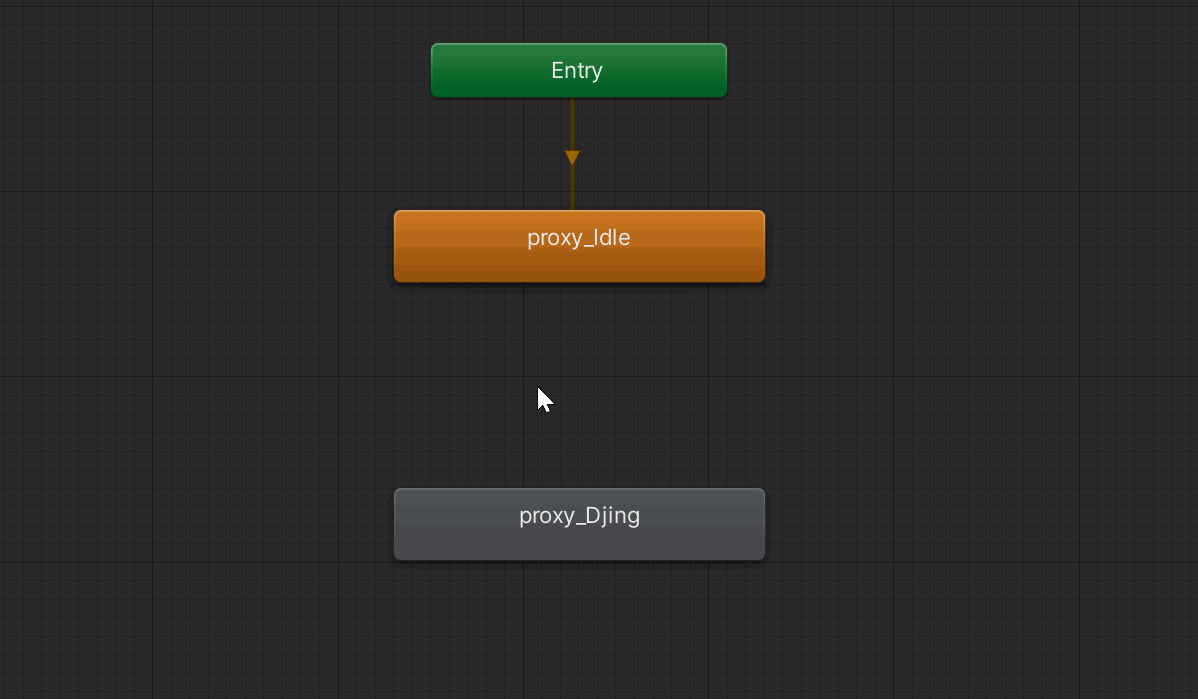
- Drag and drop the "proxy_Idle" file directly from the SDK directory Assets\ParaAvatarSDK\ToolBox\ArtAssets\Animations\AnimationClips into the Animator window. The file will serve as the start node of the Animator Controller.
- Drag and drop your dance action into the Animator window. In this example, we use the "proxy_Djing" animation that comes with the SDK. By pressing and holding the left mouse key, you can drag and drop the animation file into the Animator window.
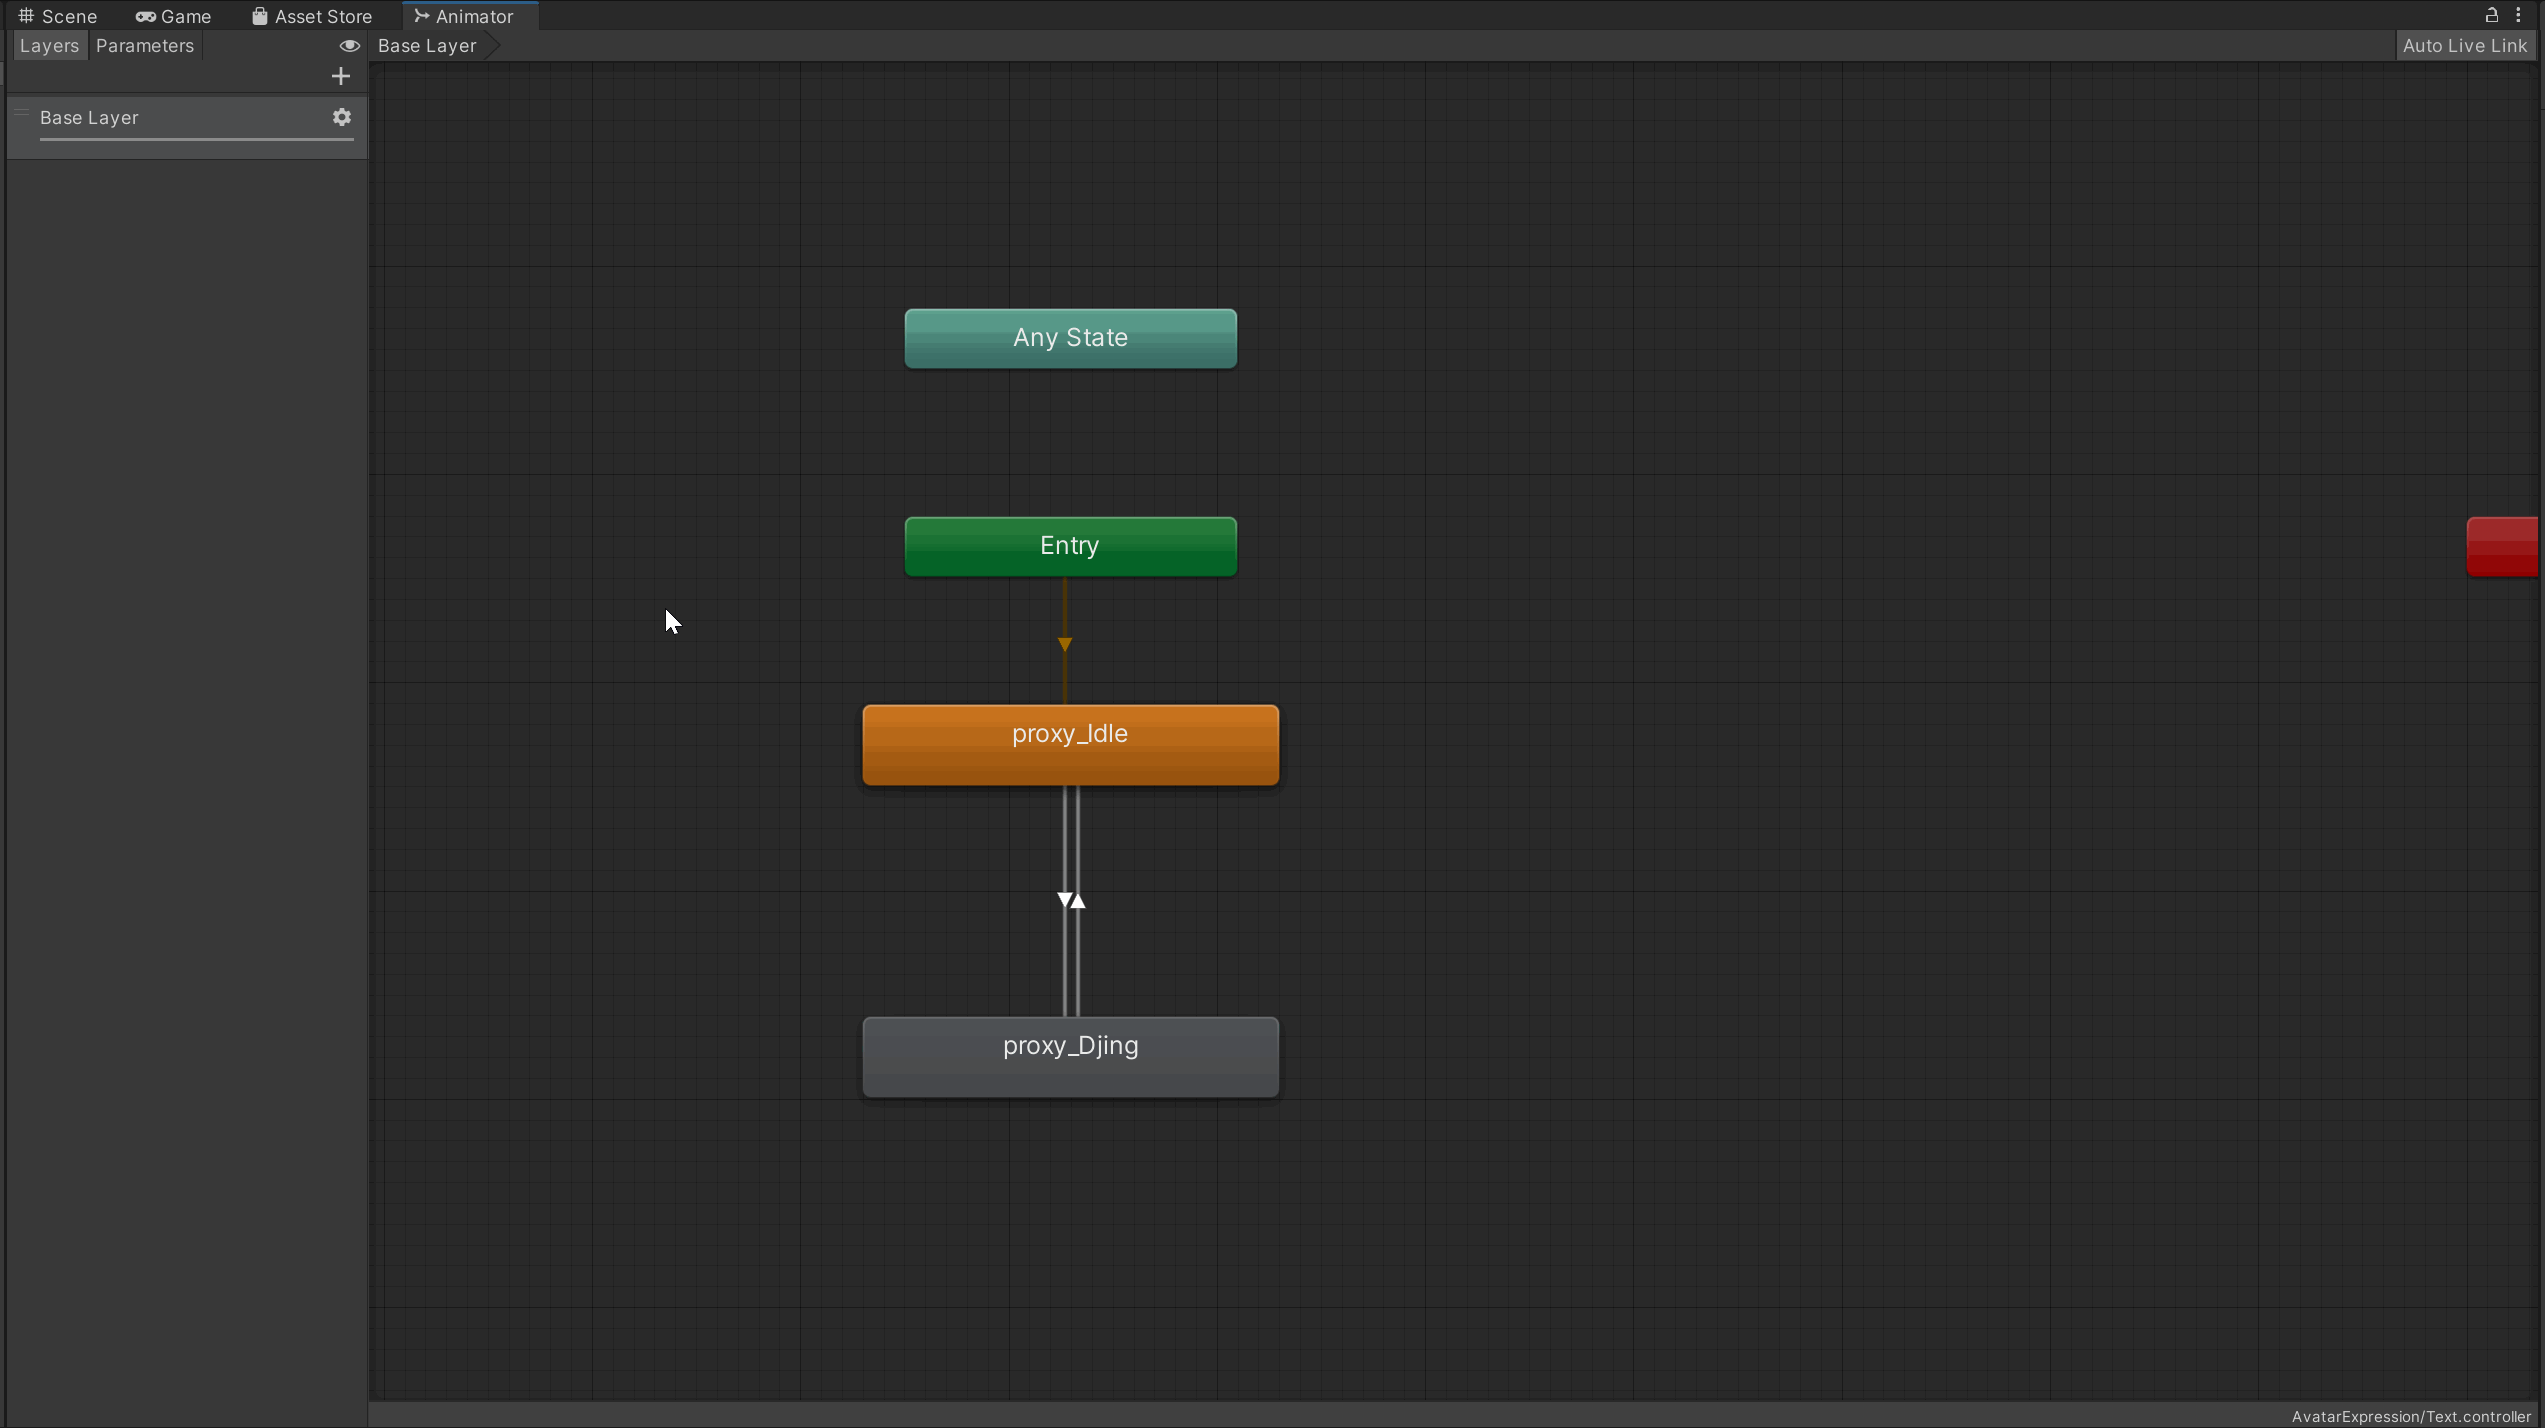
- Right-click the "proxy_Idle" node and choose Make Transition. You will enter the transition making mode. Move your mouse to the "proxy_Djing" node and click on it to create a transition.
- Similar to Step 3, create a transition from "proxy_Djing" to "proxy_Idle".
- In the upper-left corner of the Animation window, click the "Parameters" tab. Then click the "Add" button on the right to add a parameter of Int type. You can customize the parameter name. In this example, we use "Dance" as the parameter name.
- Add corresponding rules for both transition lines.
- Click on the transition line going from "proxy_Idle" to "proxy_Djing". In the Inspector window, add the following logic: Triggered when the value of Dance is 1. Deselect the Has Exit Time parameter so that the animations can be switched instantly.
- Click on the transition line going from "proxy_Djing" to "proxy_Idle". In the Inspector window, set the Exit Time parameter to 1 so that the Avatar returns to the idle animation after it performs the dance action.
- In the end, you must learn how to adjust the weight of the Animator Controller and remove the default value.
In Unity, when you play an animation, other animations with smaller weight values will be replaced. In this example, as the "Proxy_ldle" animation is being played continuously, the Avatar cannot walk normally.
You need to add an Animator Controller script that sets the weight to 0 when the Avatar is in "Proxy_ldle" node and restores the weight when the "Proxy_Djing" animation is being played.- Click the "Proxy_ldle" node. Deselect Write Defaults, click Add Behaviour, and add the Para Playable Layer Control script. Set Playable Layer to Action and make sure that Goal Weight is set to 0.
- Click the "Proxy_Djing" node. Deselect Write Defaults, click Add Behaviour, and add the Para Playable Layer Control script. Set Playable Layer to Action and make sure that Goal Weight is set to 1.
Next, drag and drop the Animator Controller file into the Action layer of your Avatar. At this point, the Animator Controller configurations have been completed.
Create and Configure an Expression Menu
In order for our platform to identify your Animator Controller parameters and generate buttons, we need a file describing the relationships between buttons and parameters and how to use these parameters. This file is an expression menu of ParaSpace.
Create an Expression Menu
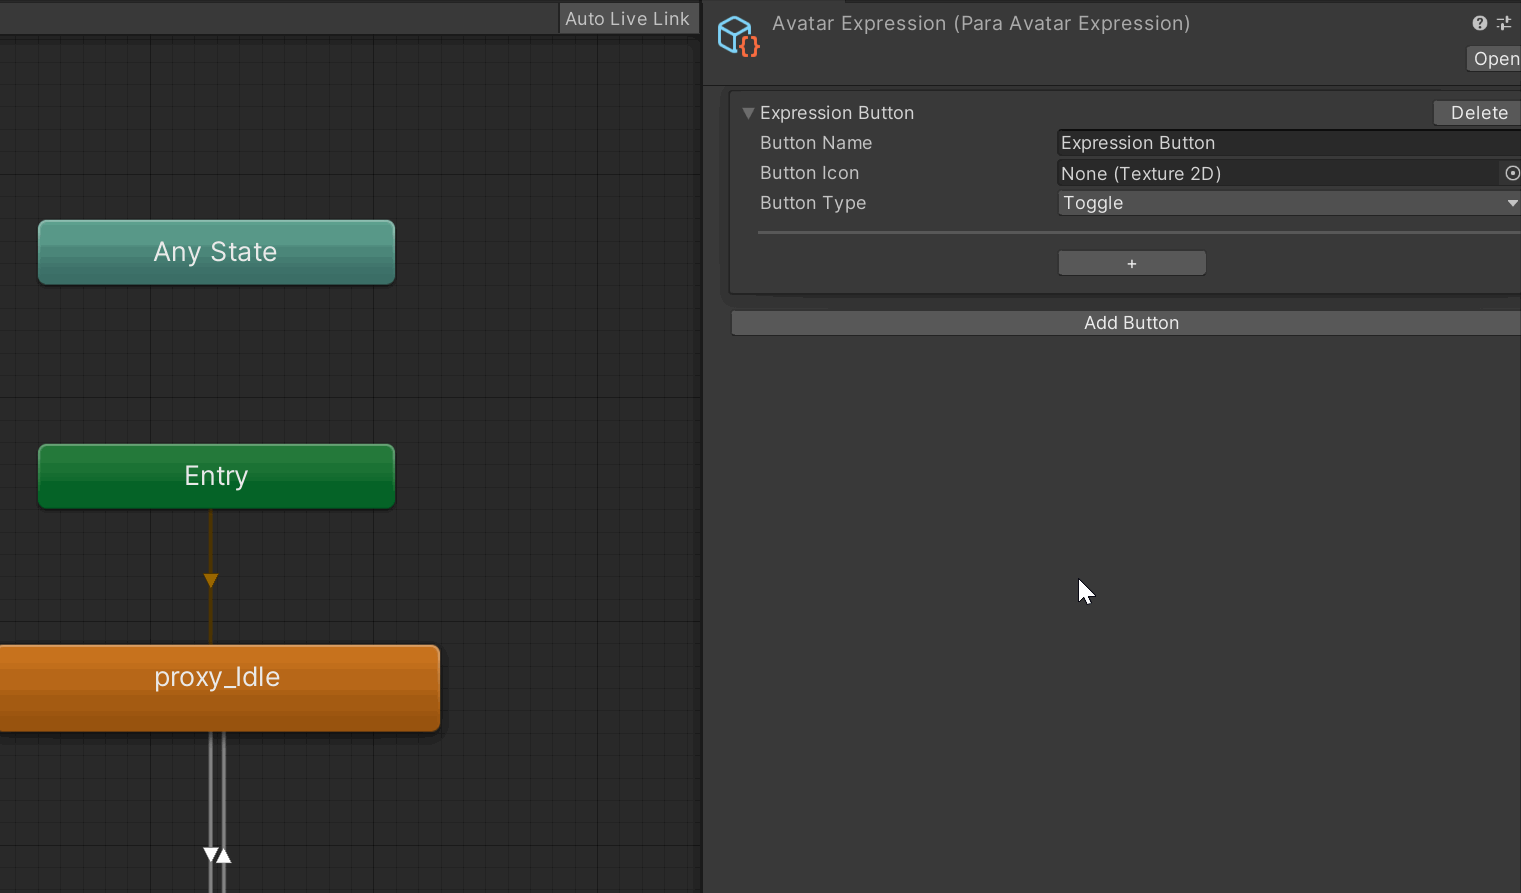
Right-click on the file area of the Project window and choose Create -> ParaSpace -> Avatar Expression to create a new expression menu in the window of the current directory. You can customize the menu name.
Configure the Expression Menu
Click the expression menu file and edit the menu in the Inspector window.
By default, a toggle button is created for you. We provide 6 different types of buttons. To learn more, see Configure Expressions.
Let’s learn how to configure an expression menu:
| Name | Effect |
|---|---|
| Button Name | Indicates the name of a button. |
| Button Icon | Indicates the icon of a button. |
| Button Type | Indicates the type of a button, which determines the effect displayed after the button is pressed. |
You can customize the button name and icon.
- A button name consists of no more than 18 characters.
Click the "+" button below to configure parameters for your expression button.
- Give the button a name you like.
- (Optional) Drag and drop an image you like into the Button Icon field. In this example, we use the Djing image that comes with the SDK. Path: Assets\ParaAvatarSDK\ToolBox\Expressions\Icon
- Set the button type to Button.
- Select Int for Variable Name and enter a parameter name that you like. In this example, "Dance" is entered.
- In the Variable Target Value field, enter the value to which the target parameter will be changed when the button is triggered. In this example, 1 is entered.
- Finally, drag and drop the expression menu file into your Avatar script. At this point, all Avatar configurations have been completed.
Now, you have completed all processes of configuring a button, from configuring an Animator Controller to configuring an expression menu. You can upload this Avatar to the platform to view the effect!
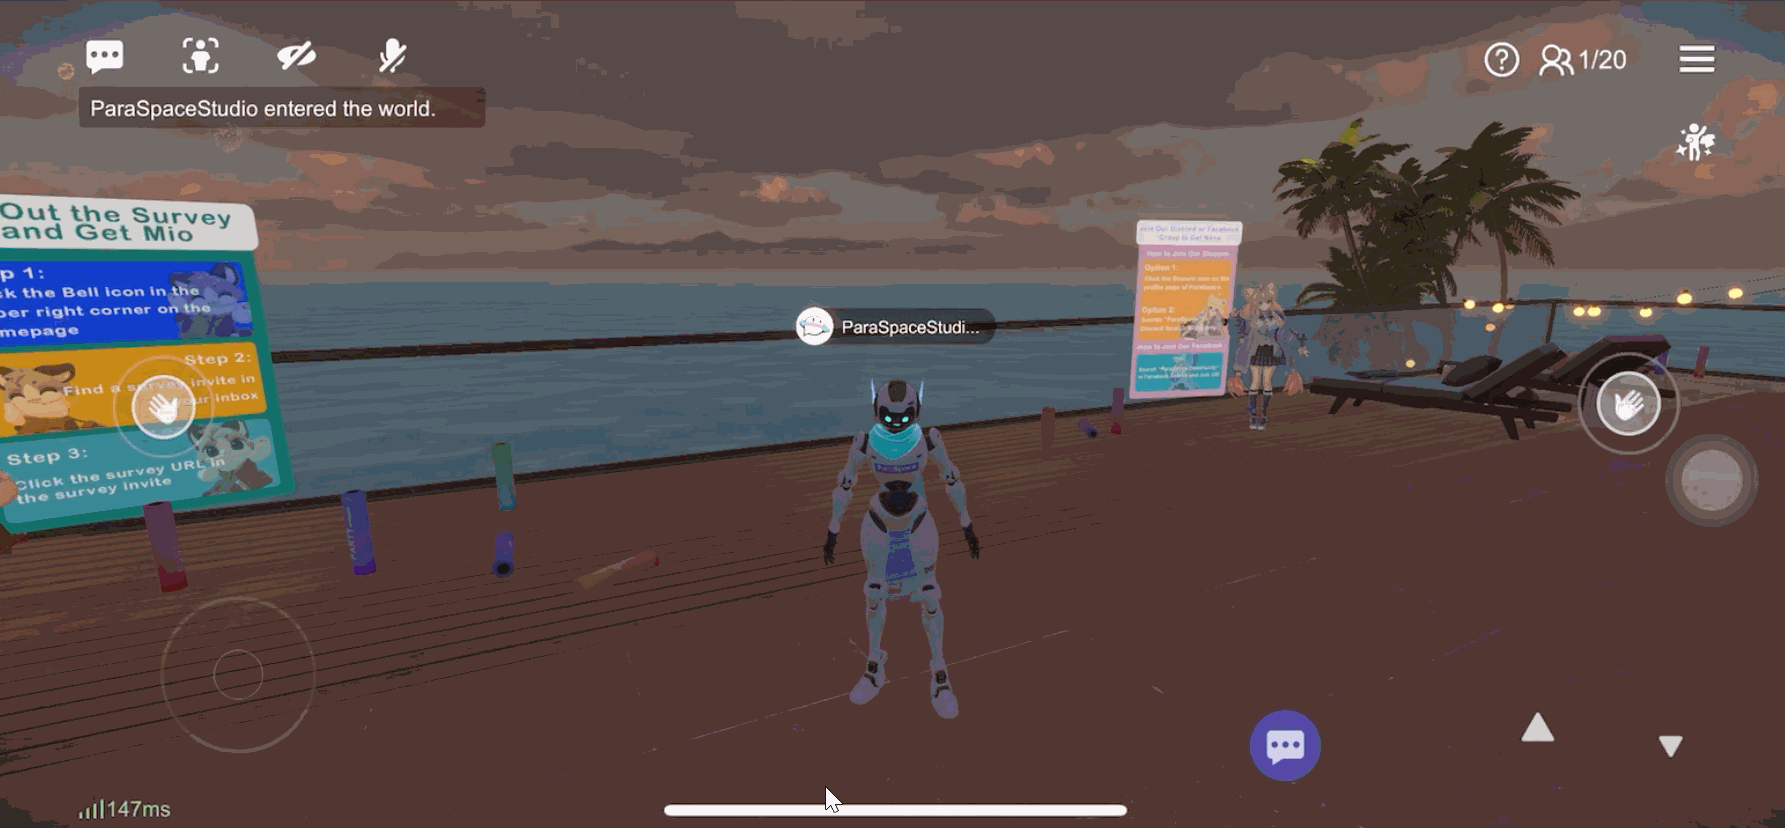
Effect after Upload
Click the "Dance" button in the Expressions and the animation will be played. After that, the Avatar automatically returns to the idle animation.
Updated about 1 year ago