
How to Reduce Meshes of an Avatar?
A mesh is a three-dimensional object made up of a collection of interconnected vertices, edges, and faces. Imagine a wireframe model of an object, where each point in the wireframe is a vertex, each line connecting two vertices is an edge, and each closed shape defined by the edges is a face. A mesh is essentially a more complex version of this wireframe model, where the vertices, edges, and faces are connected in a way that defines the shape and structure of the object.
WarningIn this document, we assume you already installed Blender and had your avatar file.
To reduce meshes, Blender must be available, and you also need to prepare your own avatar file (preferably in .fbx file format).
This section provides instructions in ideal conditions. During actual operations, unexpected errors may occur due to platform restrictions or engine problems.
In the case of uploading models to ParaSpace, the uploading requirement for meshes is set at 20. This means that if your model exceeds this limit, you may encounter errors or difficulties when attempting to upload it.
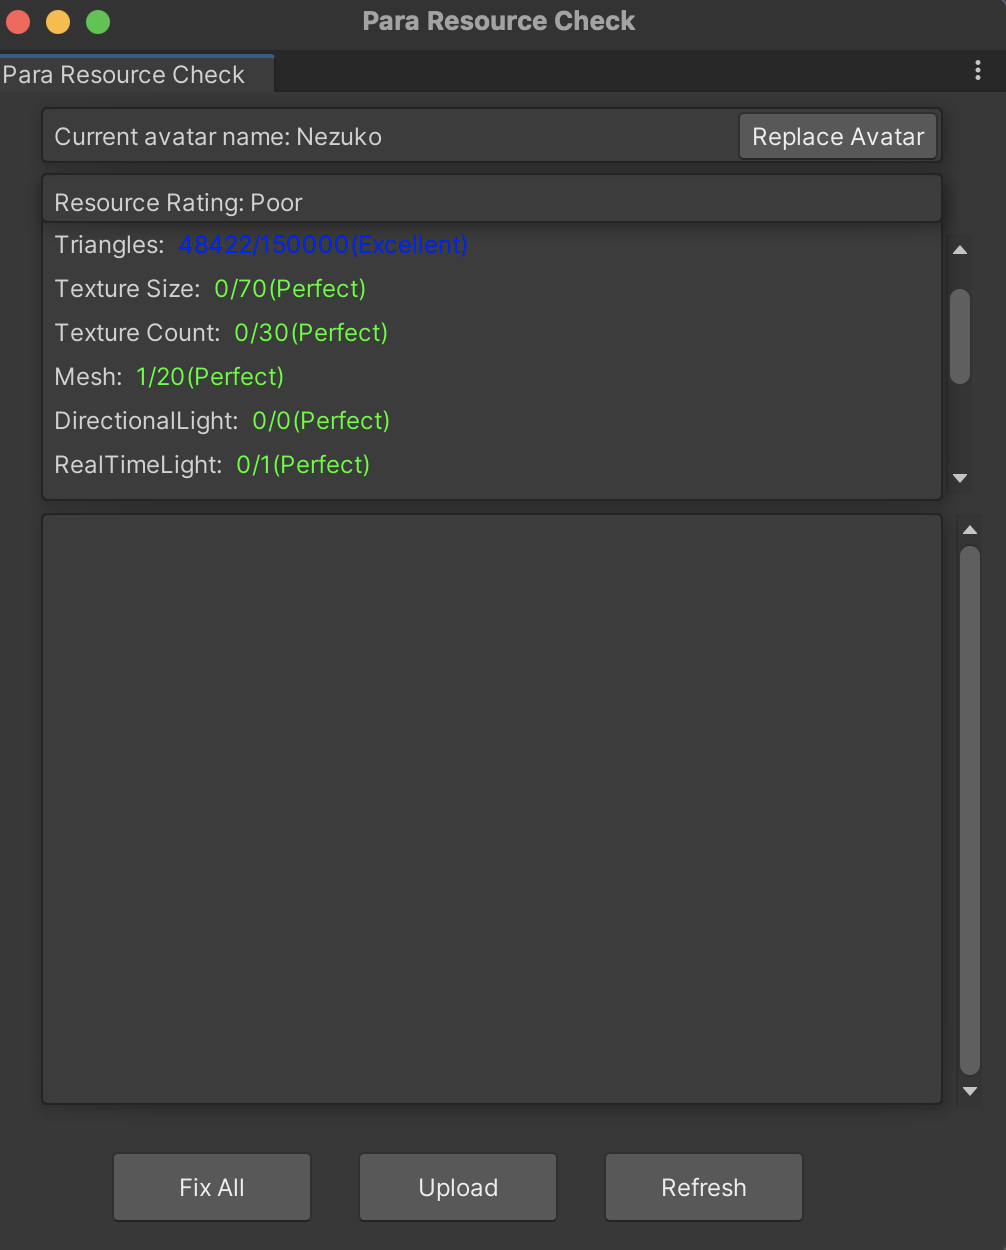
To ensure that your model meets the uploading requirements for meshes on ParaSpace, it's important to carefully review the structure of your model and make any necessary adjustments.
Download Cats Blender Plugin (0.19.0)
Note that:It was recommended for users to install Blender version 2.93 LTS alongside the Cats Plugin 0.19.0. Please note that this information might NOT reflect the most recent updates or recommendations.
So please check the GitHub repository by the Cats developers here for further information.
Download the plugin version 0.19.0 from the link here: Cats Blender Plugin.
Important: Do NOT extract the downloaded zip! You will need the zip file during installation!
Create Blender Project and Import Avatar to Blender
- Open a Blender Project.
- Select the default model and delete it.
- Navigate to the "File" tab and click "Import".
- Choose the corresponding file format of your avatar model and import your avatar.

Merge Meshes Using Cats Plugin
To access the Cats Plugin in Blender, you can follow these steps:
- Locate the small window on the right side of the interface.
- In the small window, you should see a tab labeled "Cats Plugin". Click on this tab to launch the Cats Plugin.
- Then expand "Model Options."
Select the two meshes that you want to merge together. You can do this by holding down the "Command" key and clicking on each mesh either in the hierarchy window or in the 3D viewport.

Once you have selected the two meshes, navigate to the "Join Meshes" tab in the Blender interface. This tab can typically be found in the "Tools" panel on the left side of the screen.
In the "Join Meshes" tab, you should see 2 options for merging meshes - "All" and "Selected". Look for the "Selected" tab on the right side of the tab and click on it. After clicking on the "Selected" tab, the two meshes that you selected should be merged together into a single, unified mesh.
Try selecting the mesh that you merged to see if it is now a single mesh.
Export Your Avatar Model Using Cats Plugin
Once you have finished creating and editing your avatar model, the next step is to export it.
To export it, you can follow these steps:
- Navigate to the "Export Model" file in the Cats Plugin window and click on it.
- Click on "Continue to Export".
- Choose a location on your computer where you want to save the exported file and give it a name.
- Click on the "Export FBX" button to begin the export process.
Tips:Note that if you want to export your model along with textured images, you may change the "Path Mode" to "Copy".
Updated about 1 year ago